


Your Custom Text Here
At RightHand Robotics, I am a mechanical integration engineer. Our piece-picking robot is capable of fulfilling online orders when factories want to automate this historically human-driven application.
Warehouses are designed around humans, and our robot has to fit in to that world. I am responsible for designing all auxiliary equipment that allows the robot to effectively integrate into any warehouse. This work is project-based, and I own the process start to finish. I start with a layout of the factory, design all supporting equipment, create technical drawings, source quotes from vendors, test the build in-house on a “faux cell” and then prepare the parts for shipment.
Creating accurate and detailed assembly drawings using SolidWorks is a critical part of my responsibilities, as we have a world-wide deployment team that goes on-site and installs the equipment I design. I always design with them in mind, creating easy-to-install, durable, and creatively simple designs.
Resident Office Snack Consultant
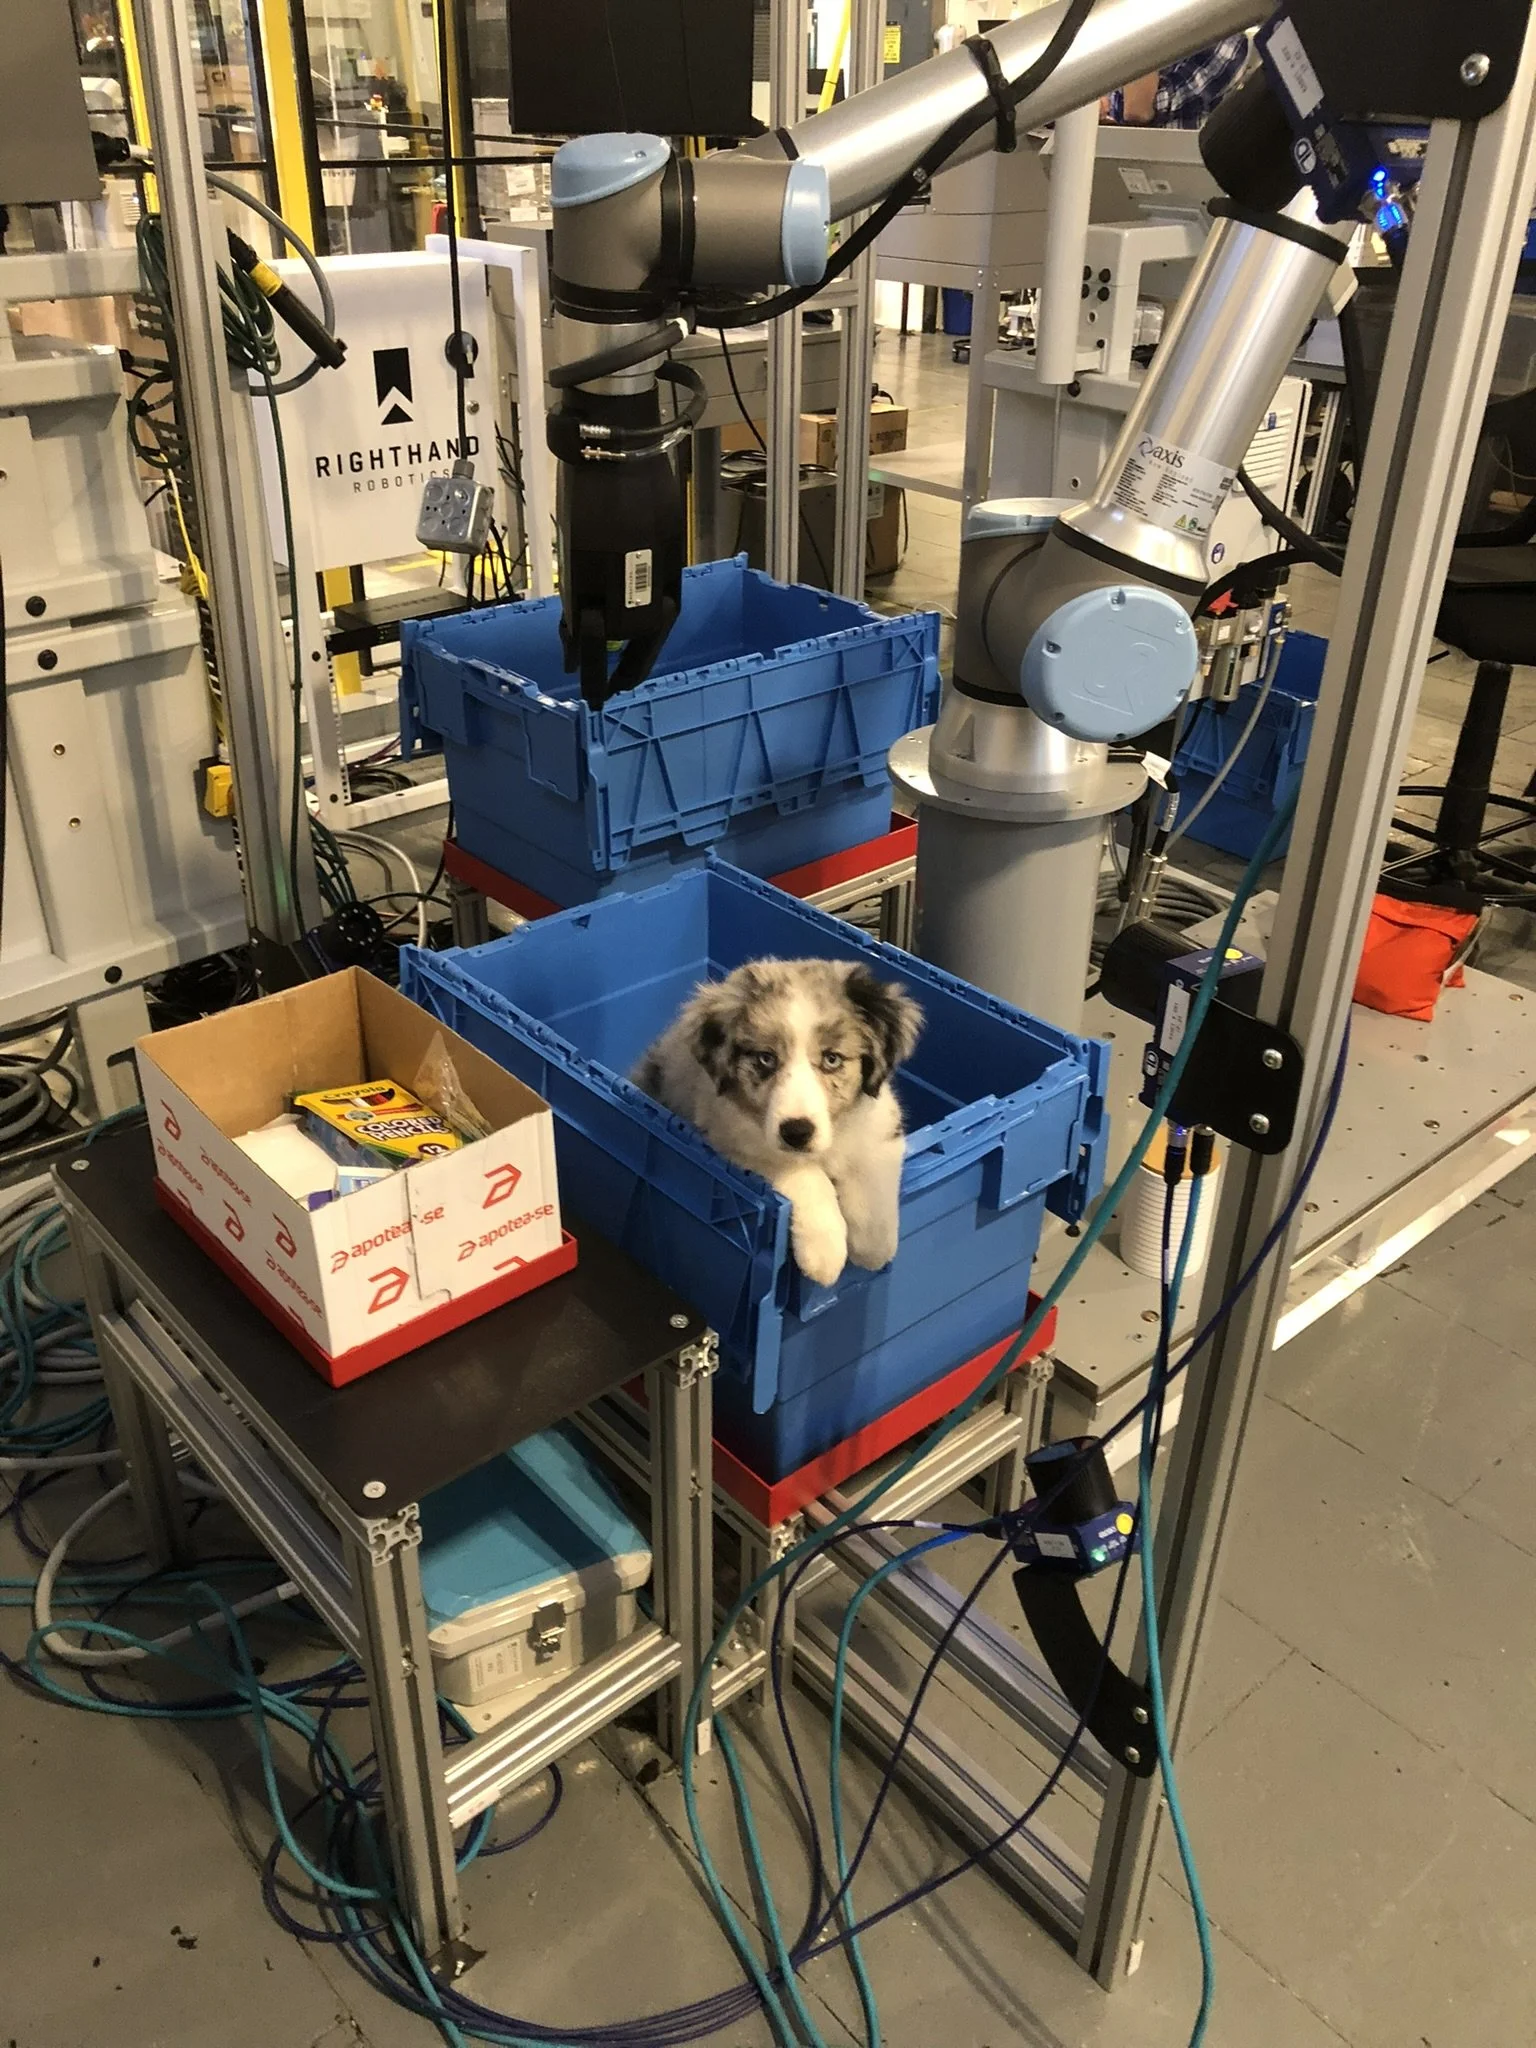
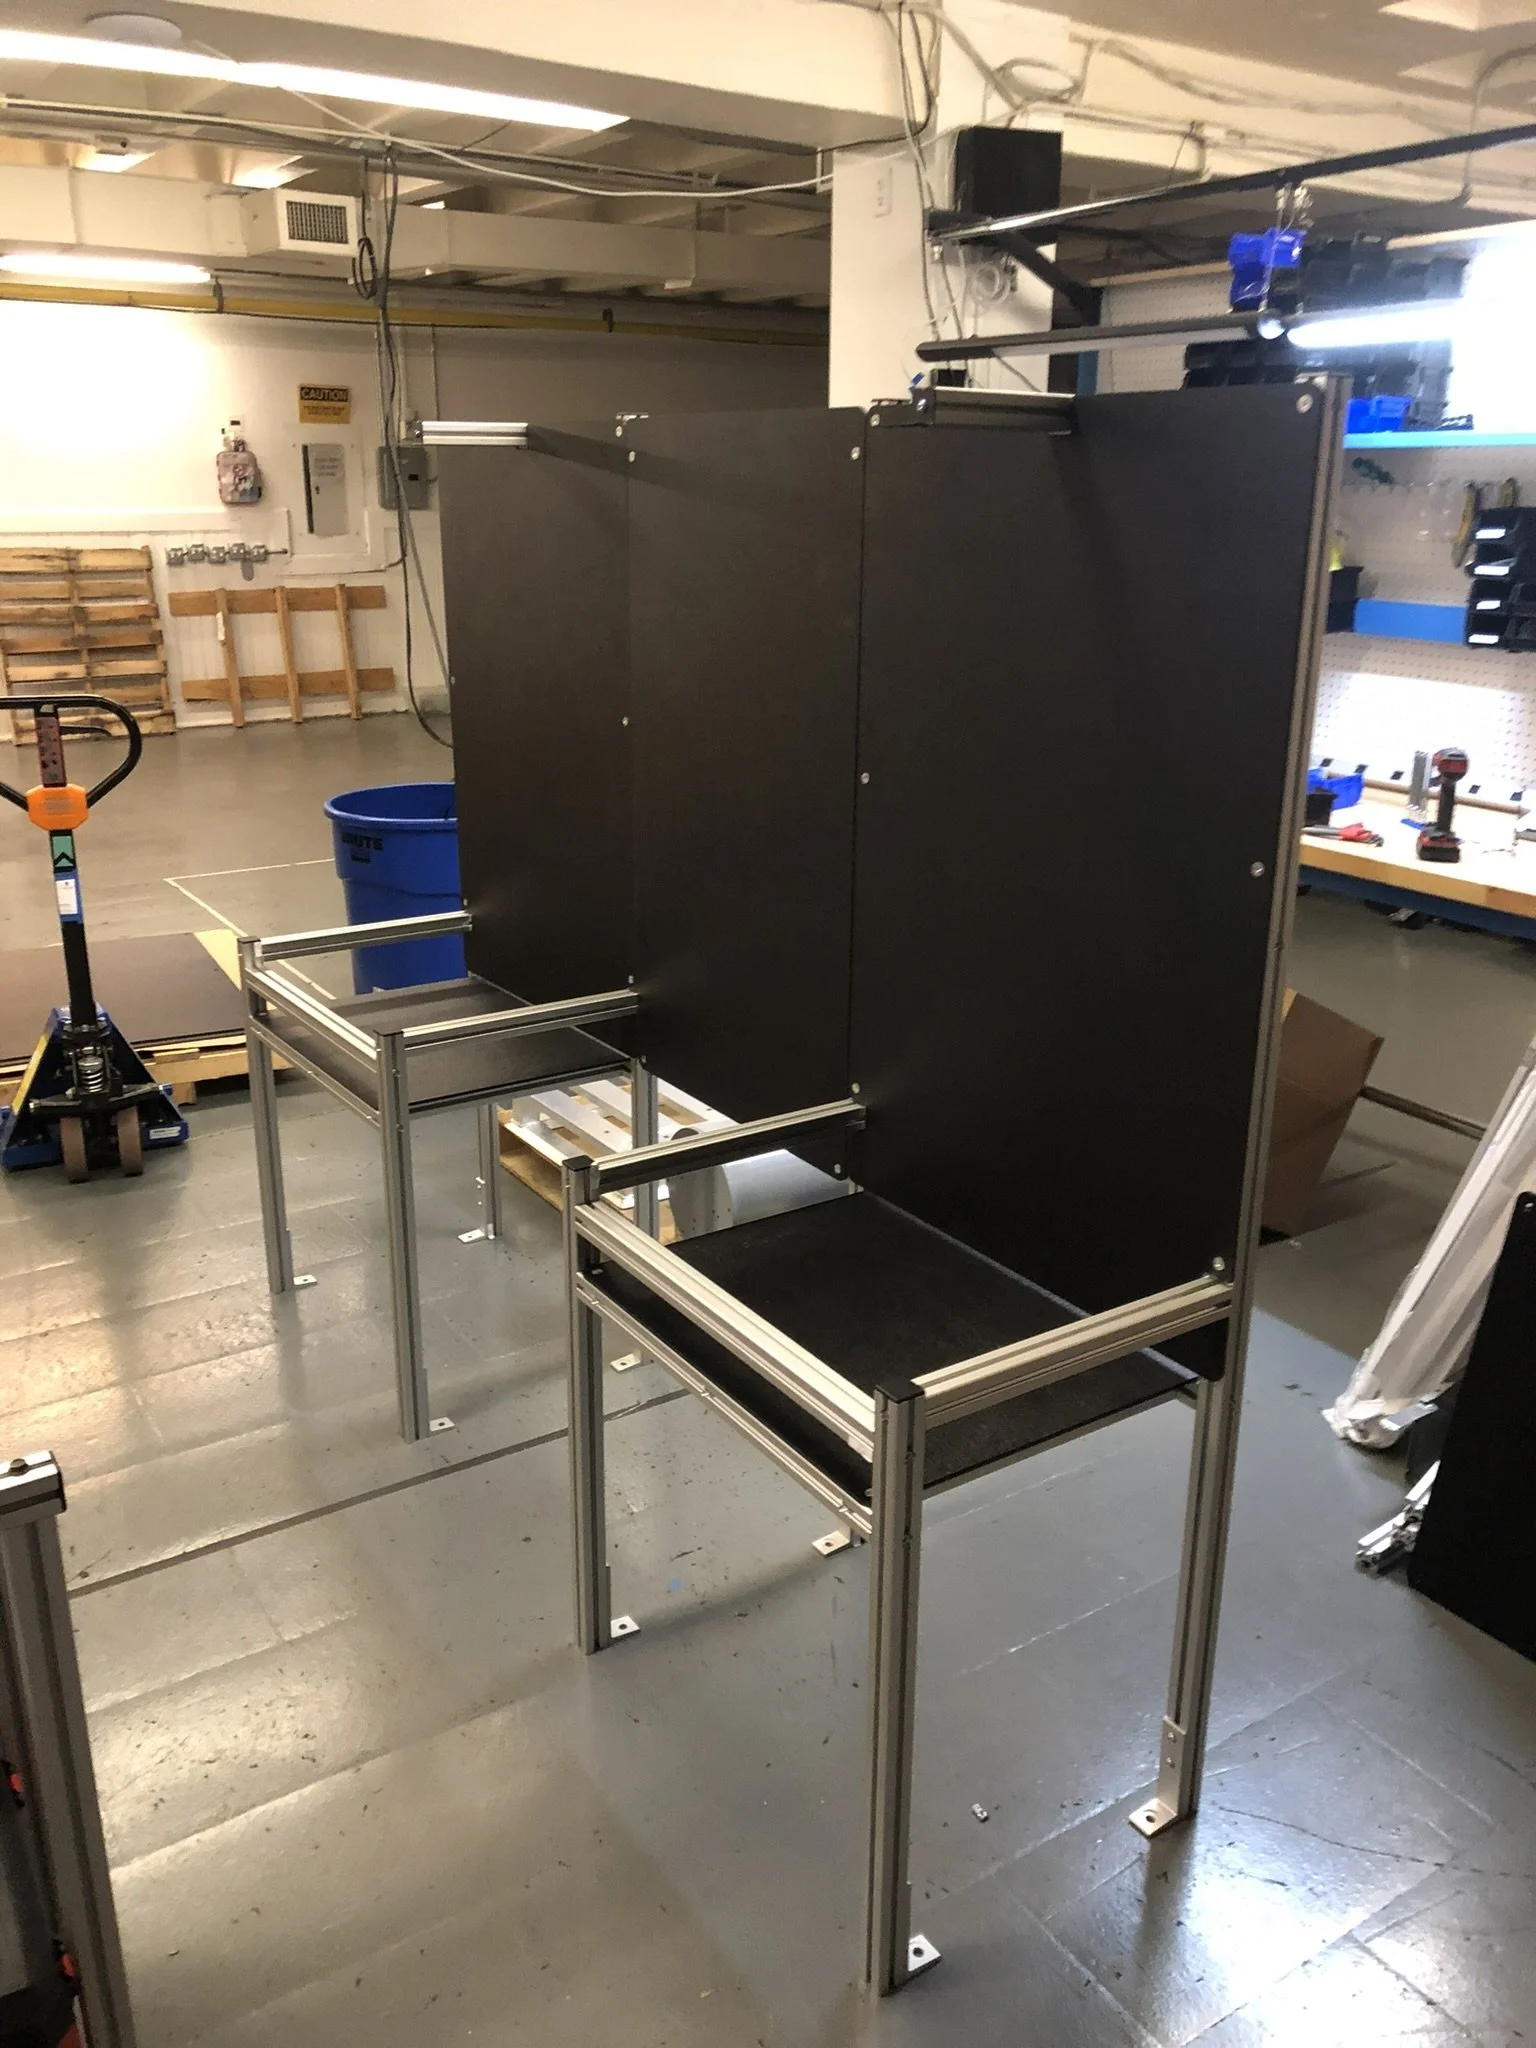
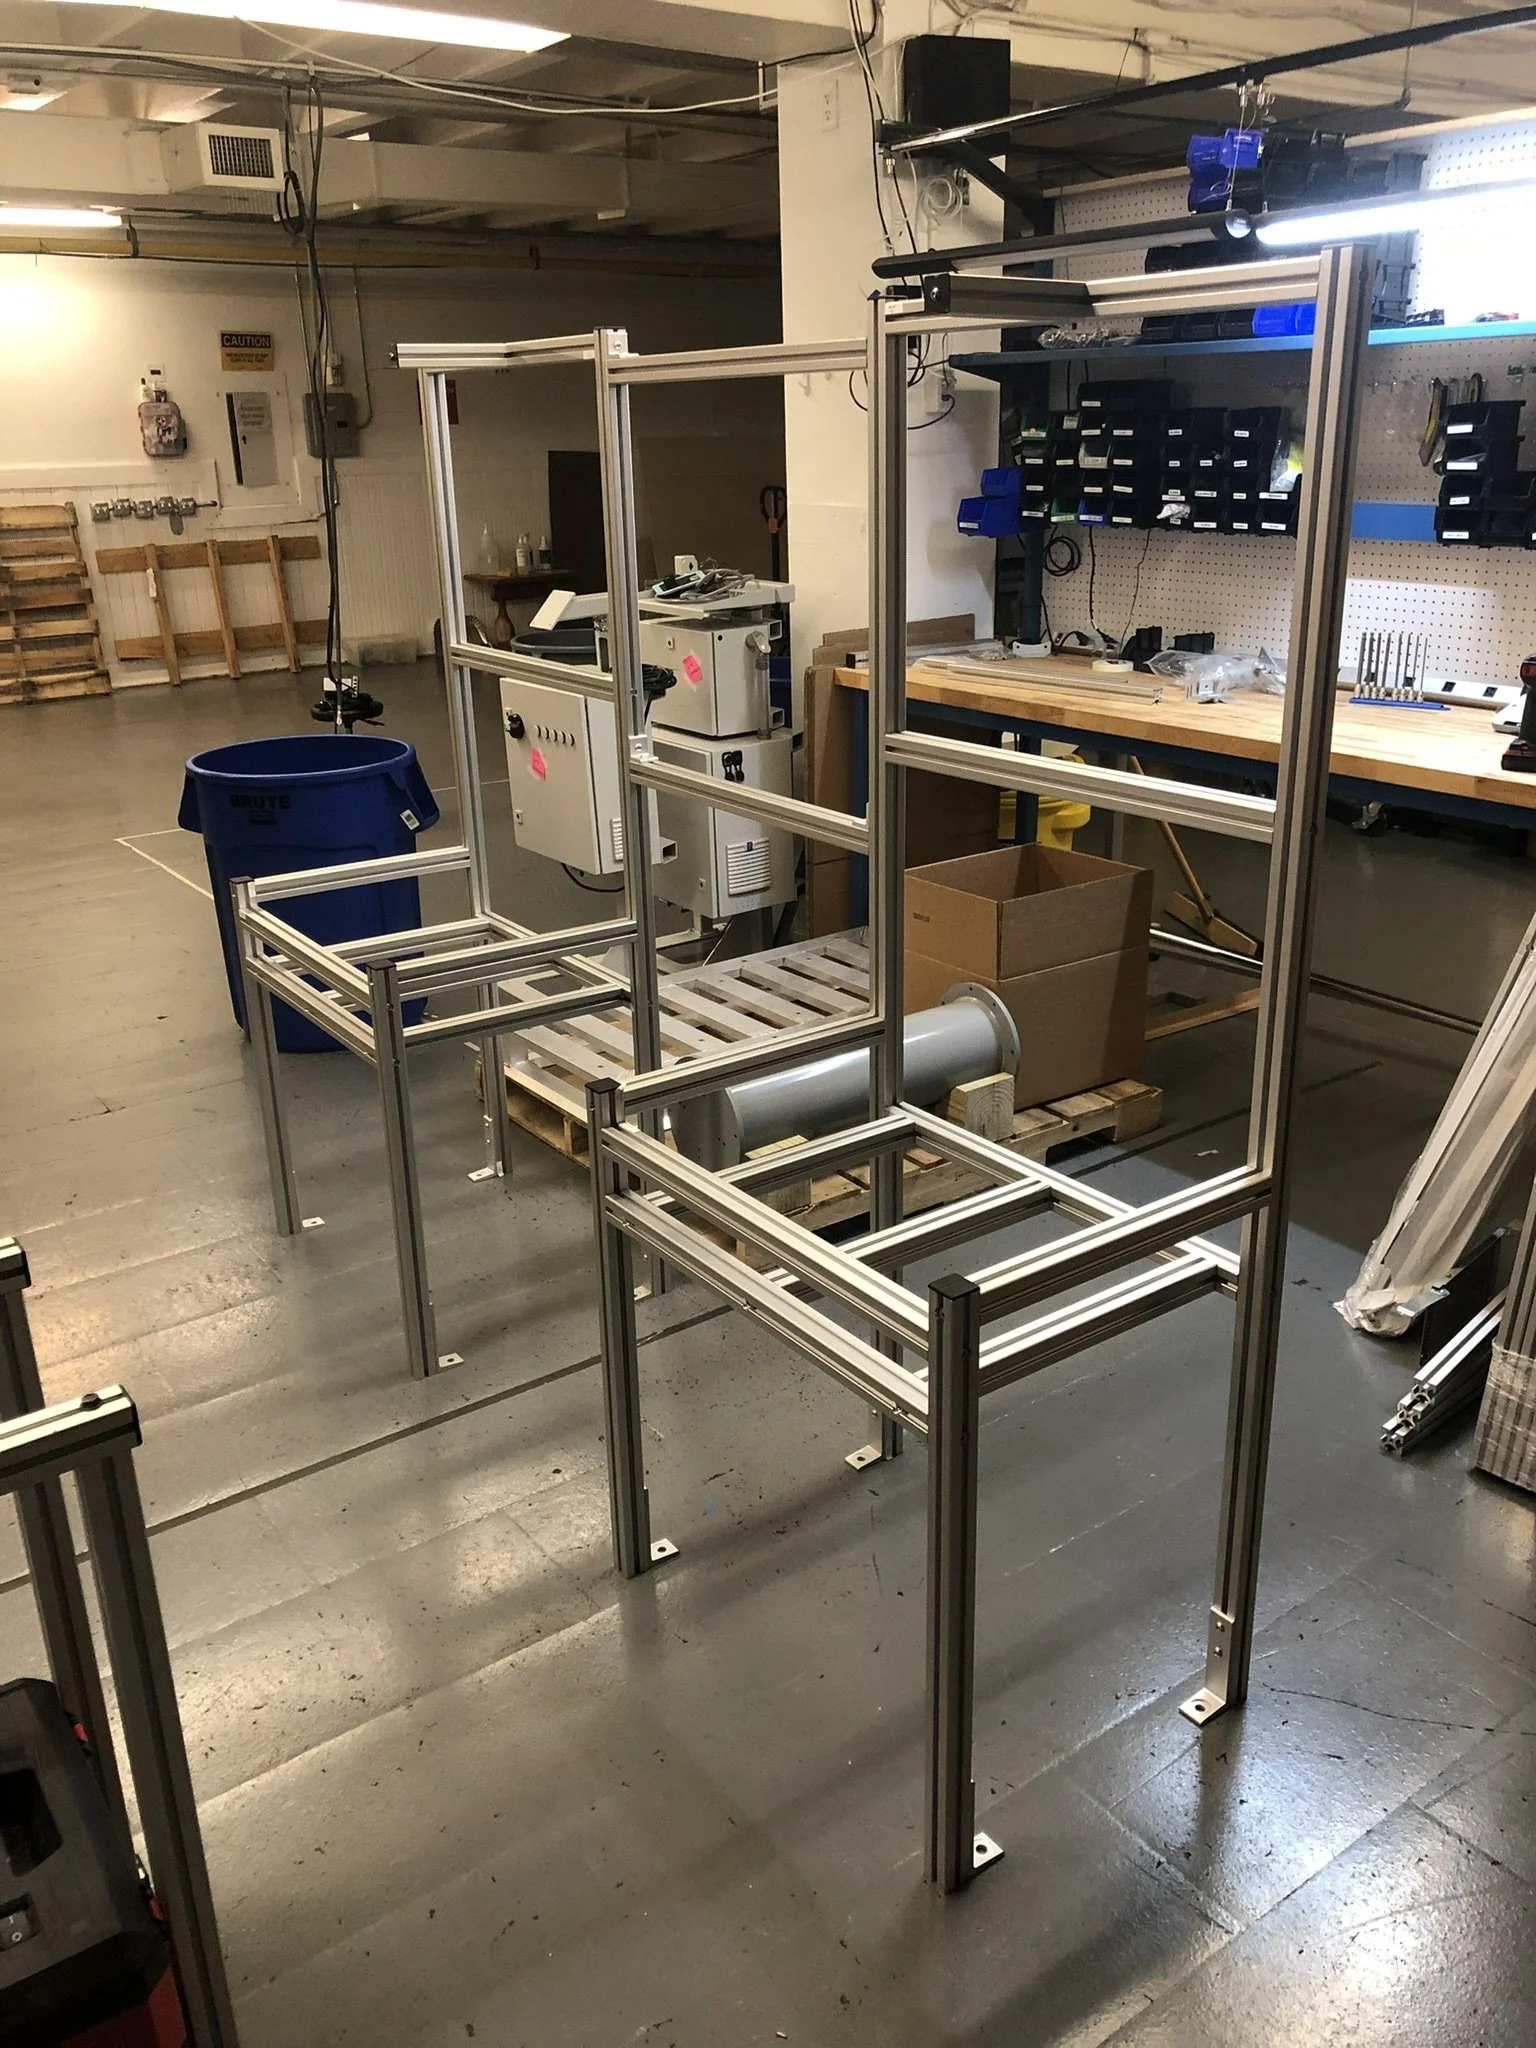
Workcell 1
This workcell was for a customer to bridge the gap between humans and AGVs. Humans fill bins atop the gray drawers, then our robot picks and places to bins atop the silver flanges facing the camera. A lot of tricky engineering went into this, prioritizing human safety, usability, and robot speed for a larger design.
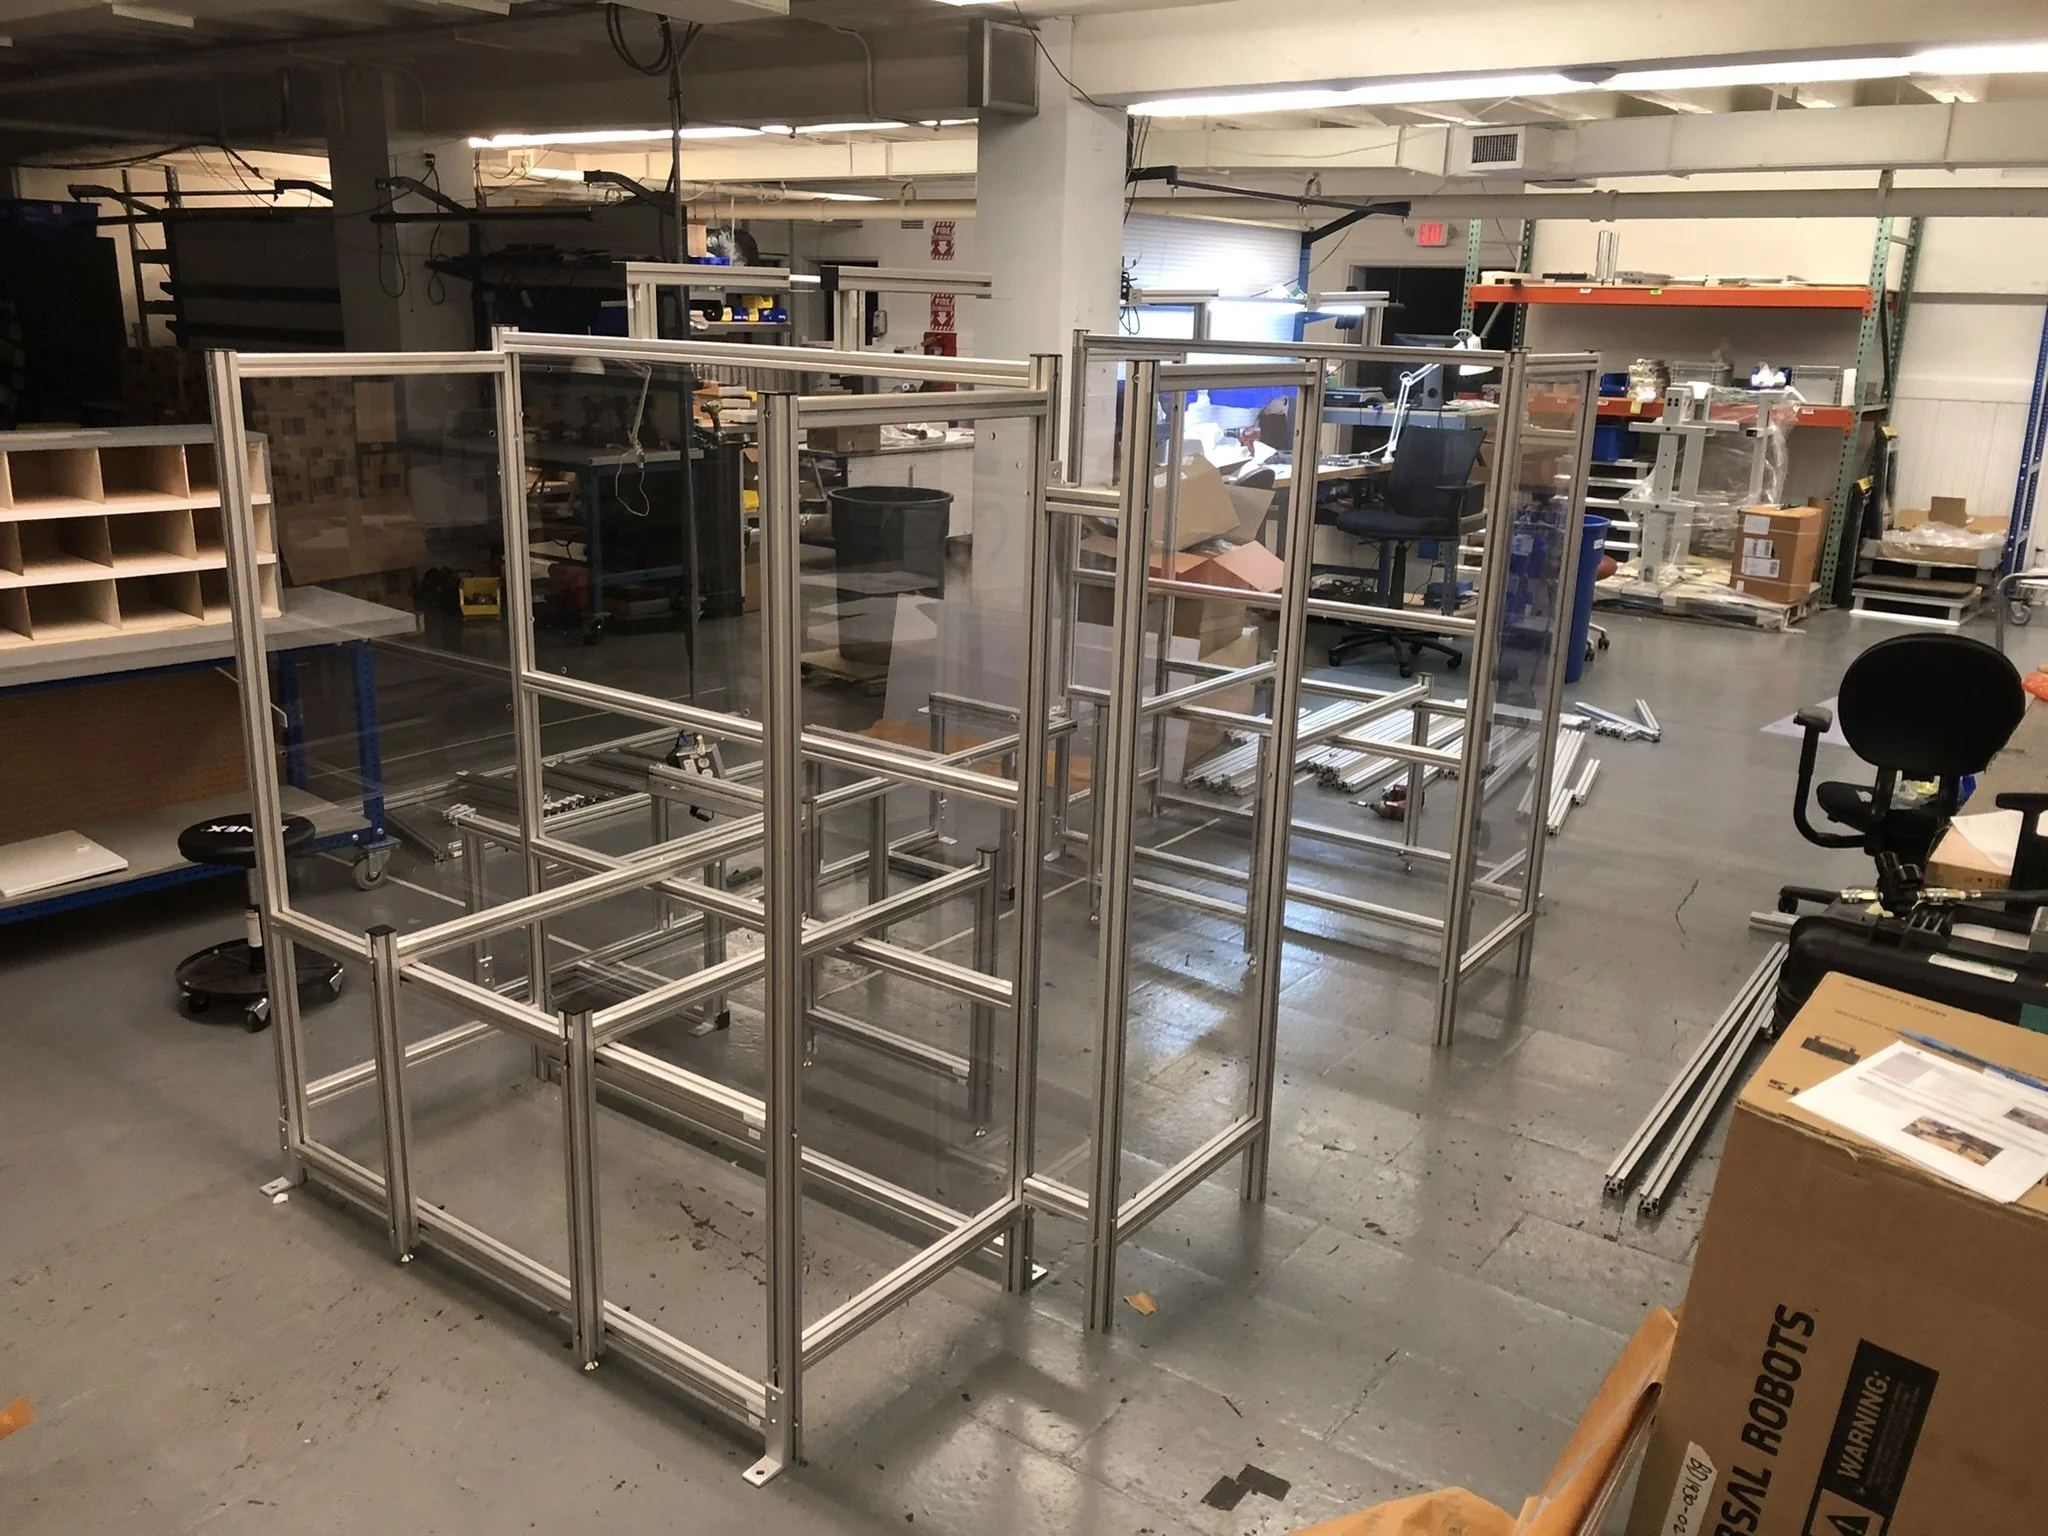
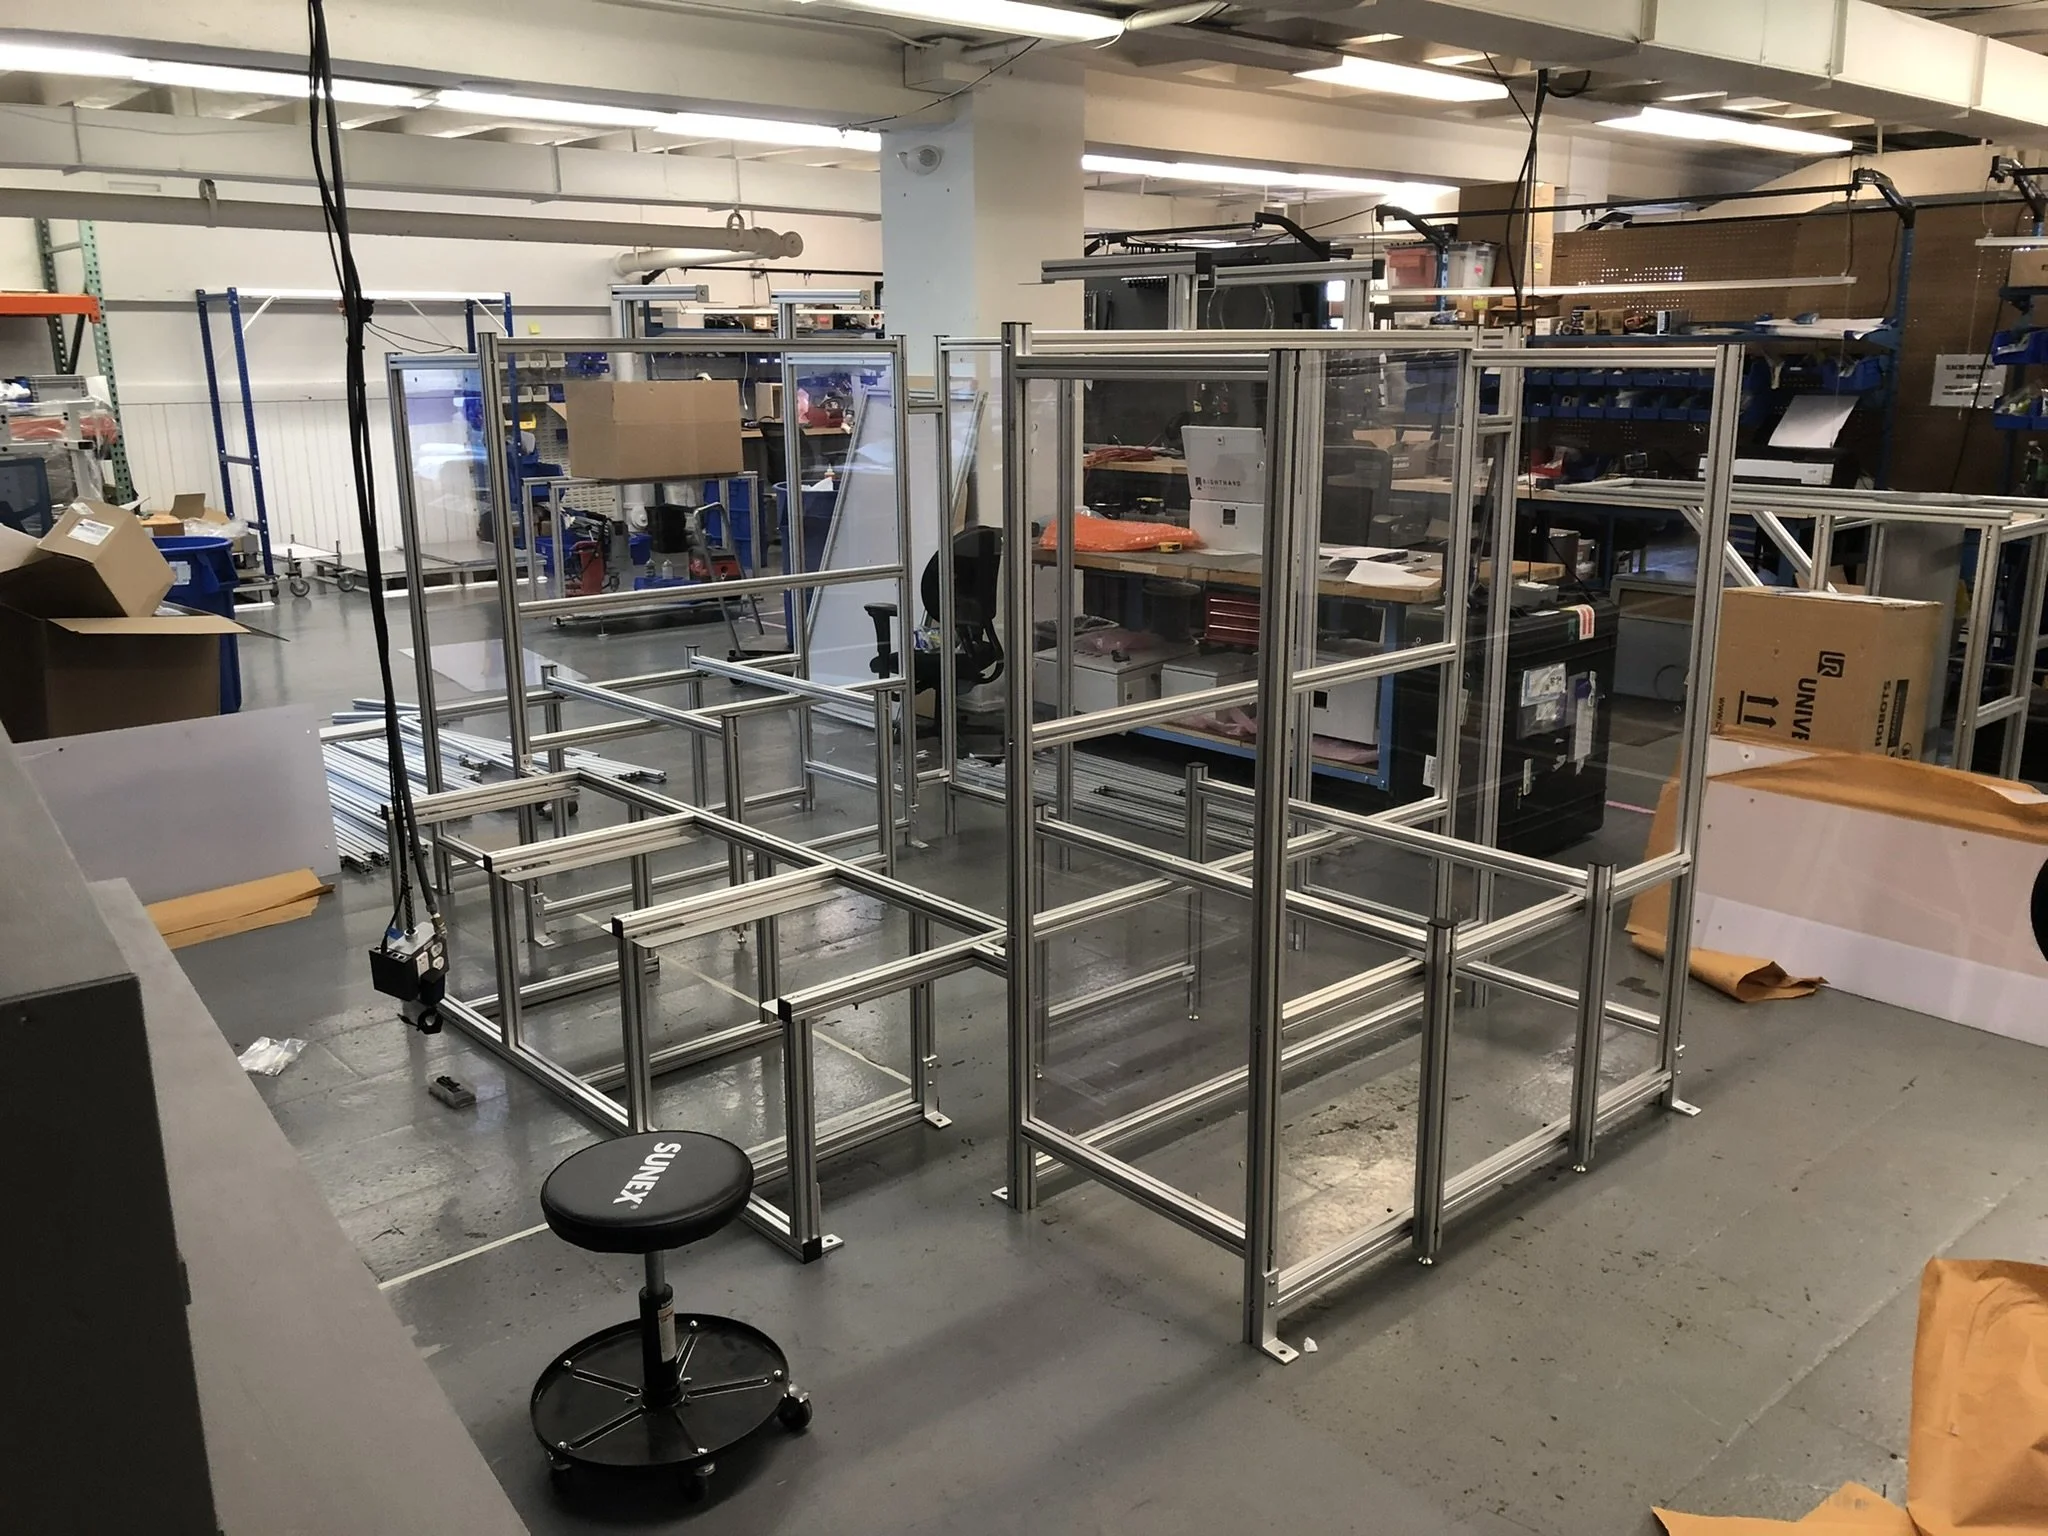
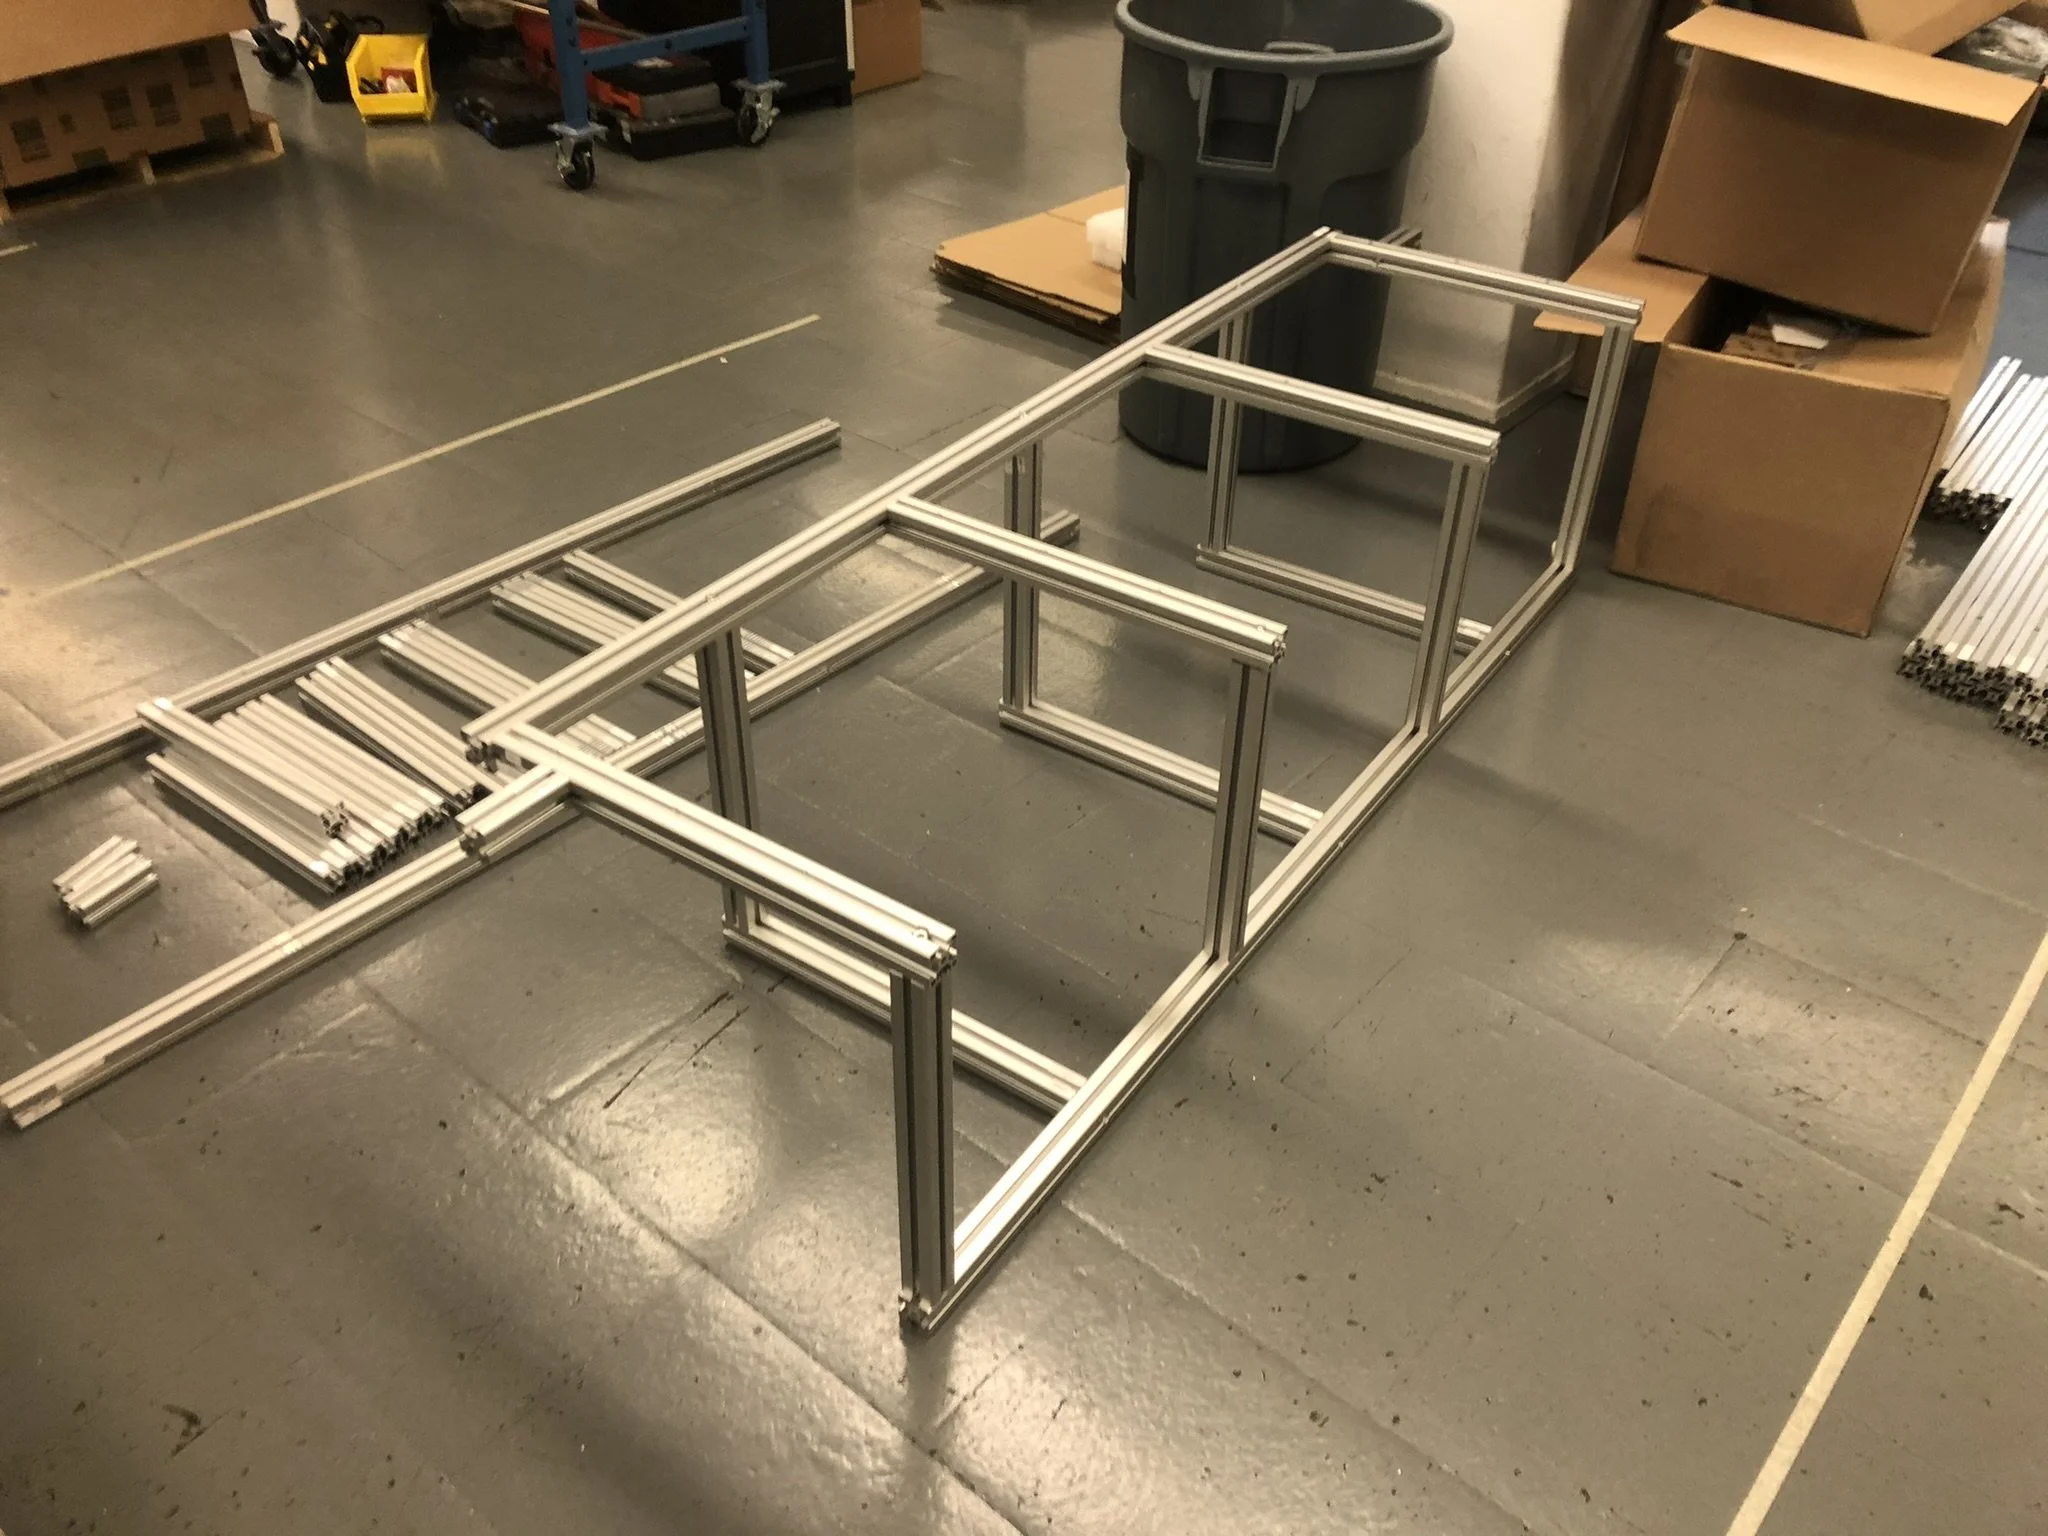
Workcell 1 Test Fit Stage
All of our workcells undergo a test fit before they are shipped. Part of my responsibilities at this stage is to assess DFMA and redesign parts as required to make on-site assembly go smoothly.
Workcell 1 Test Fit
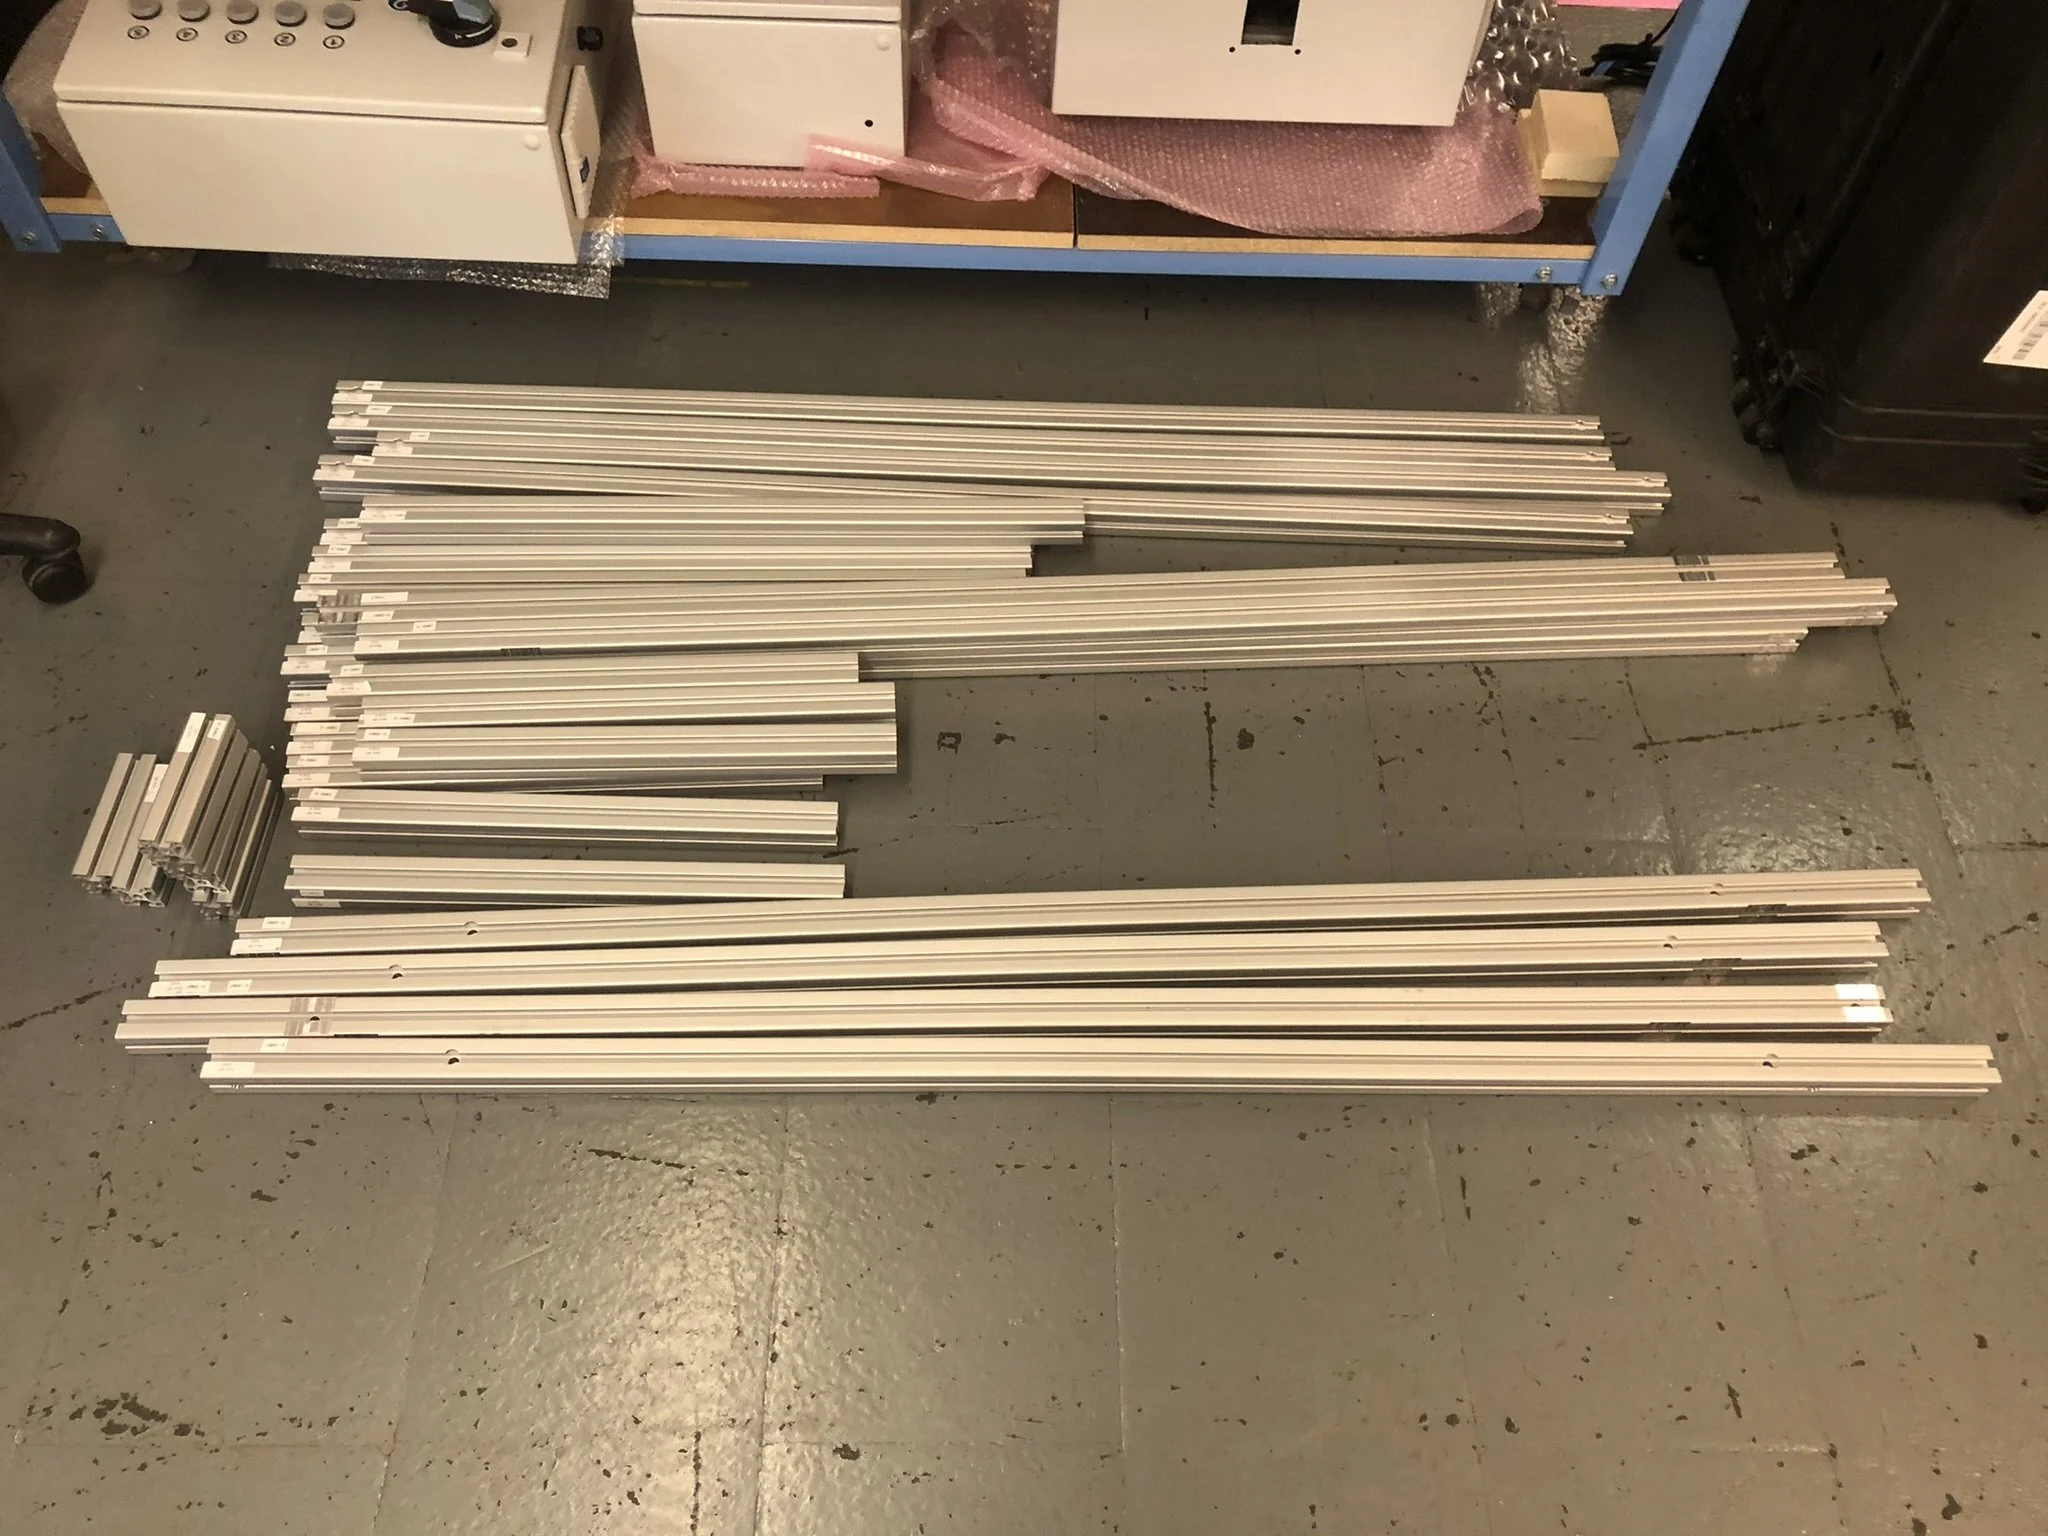
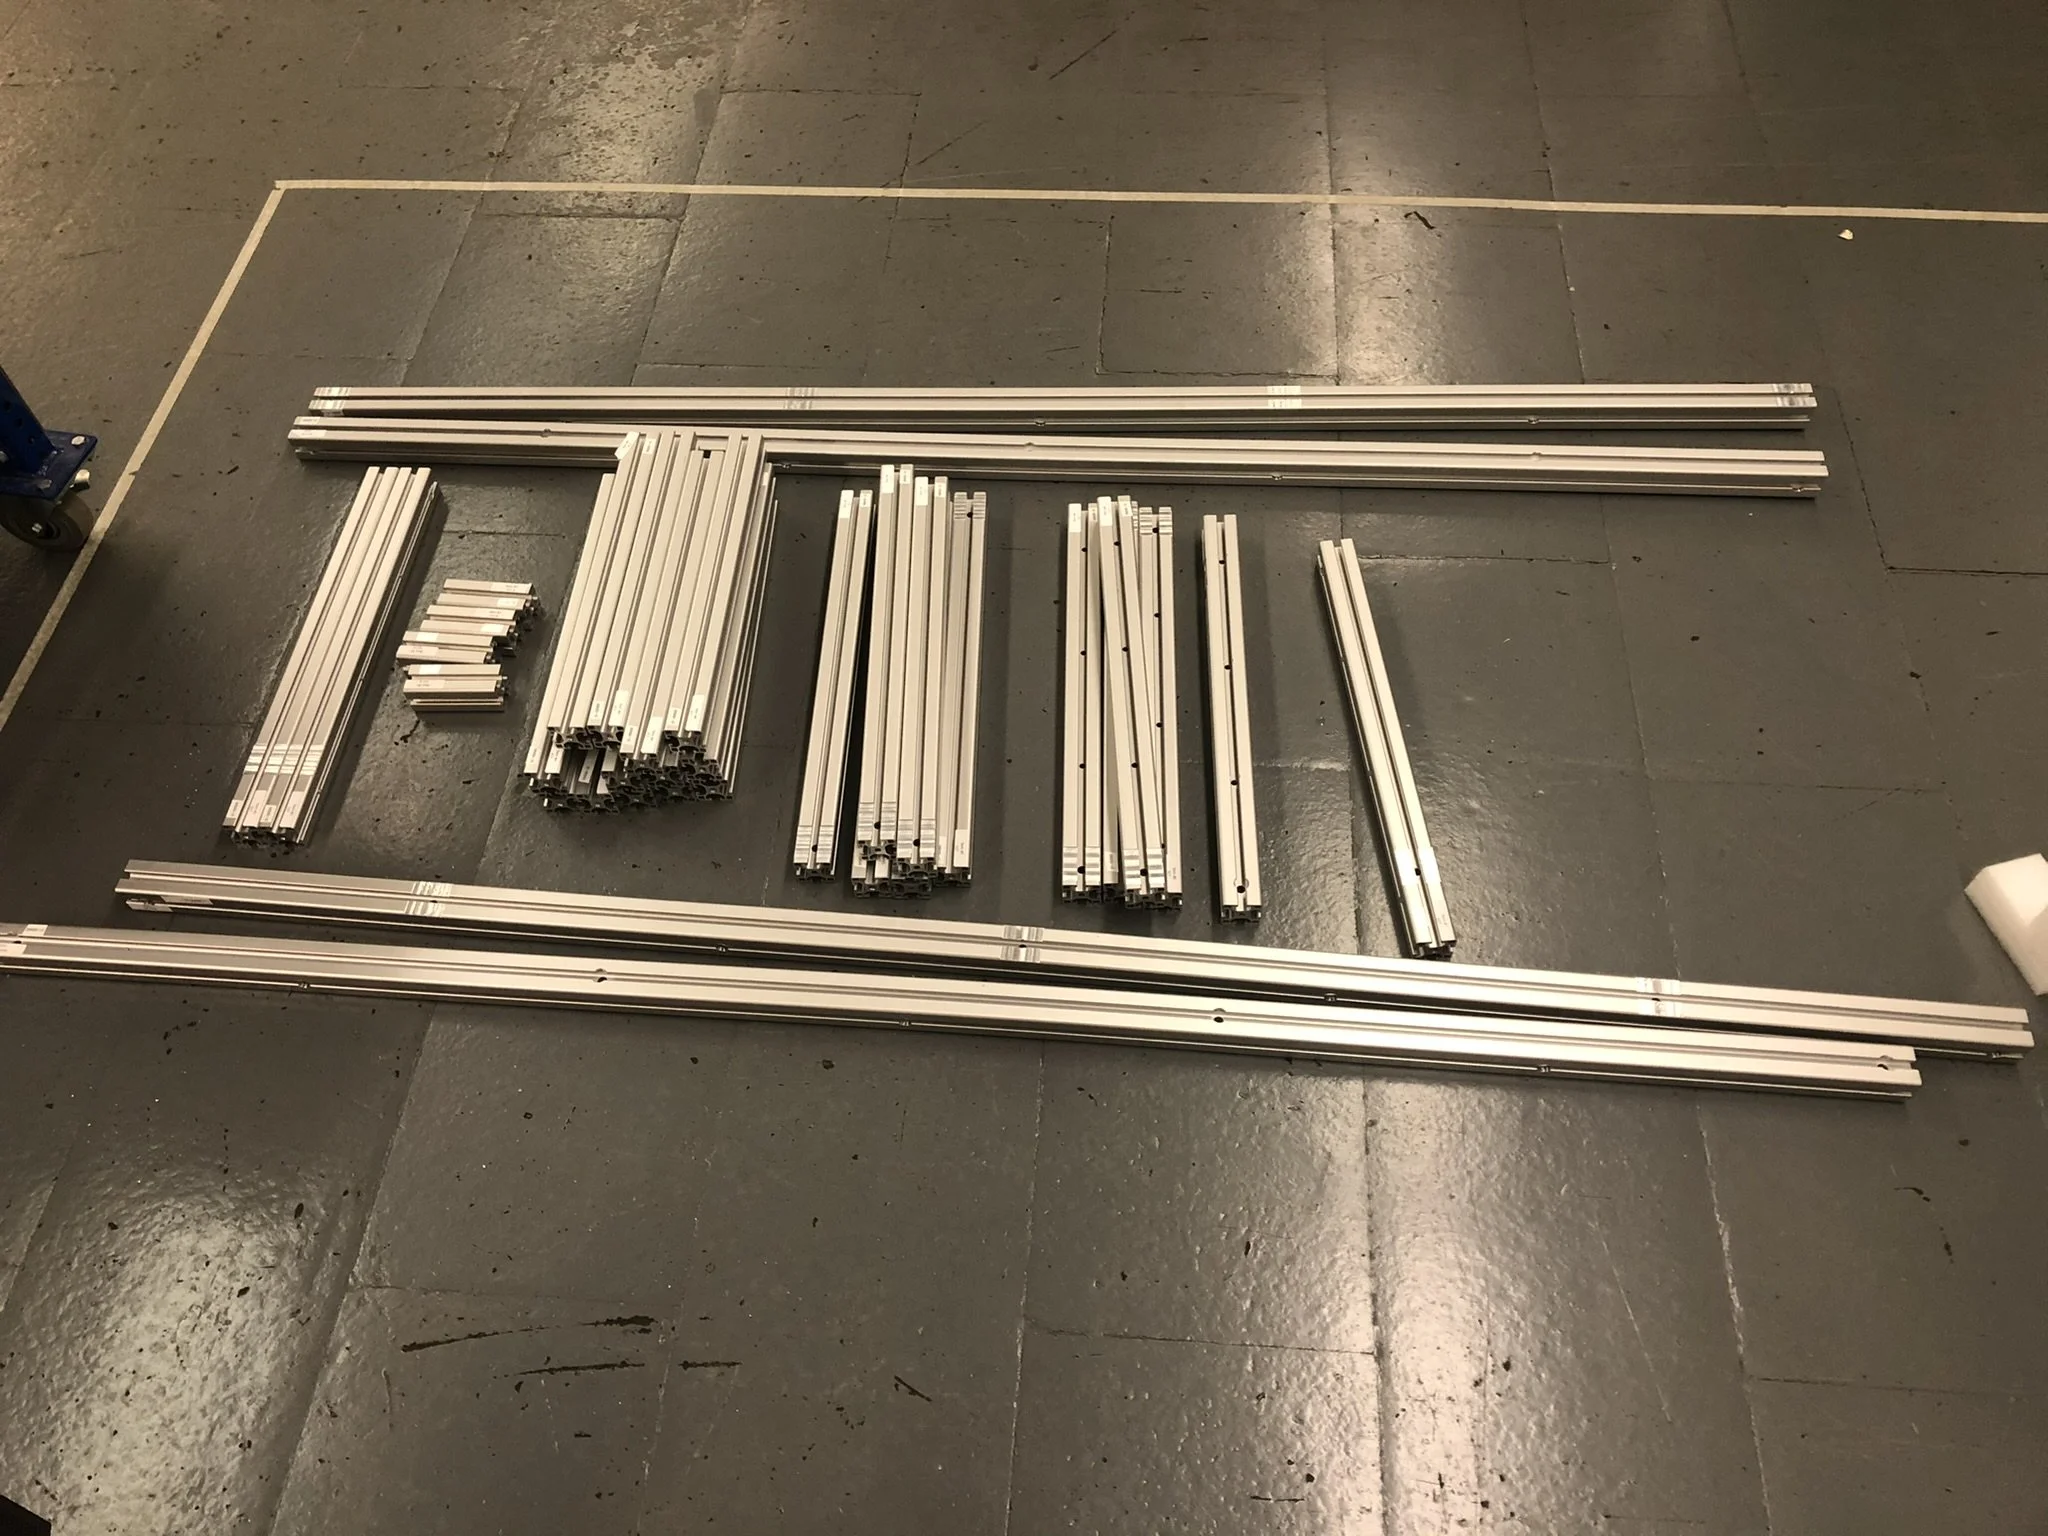
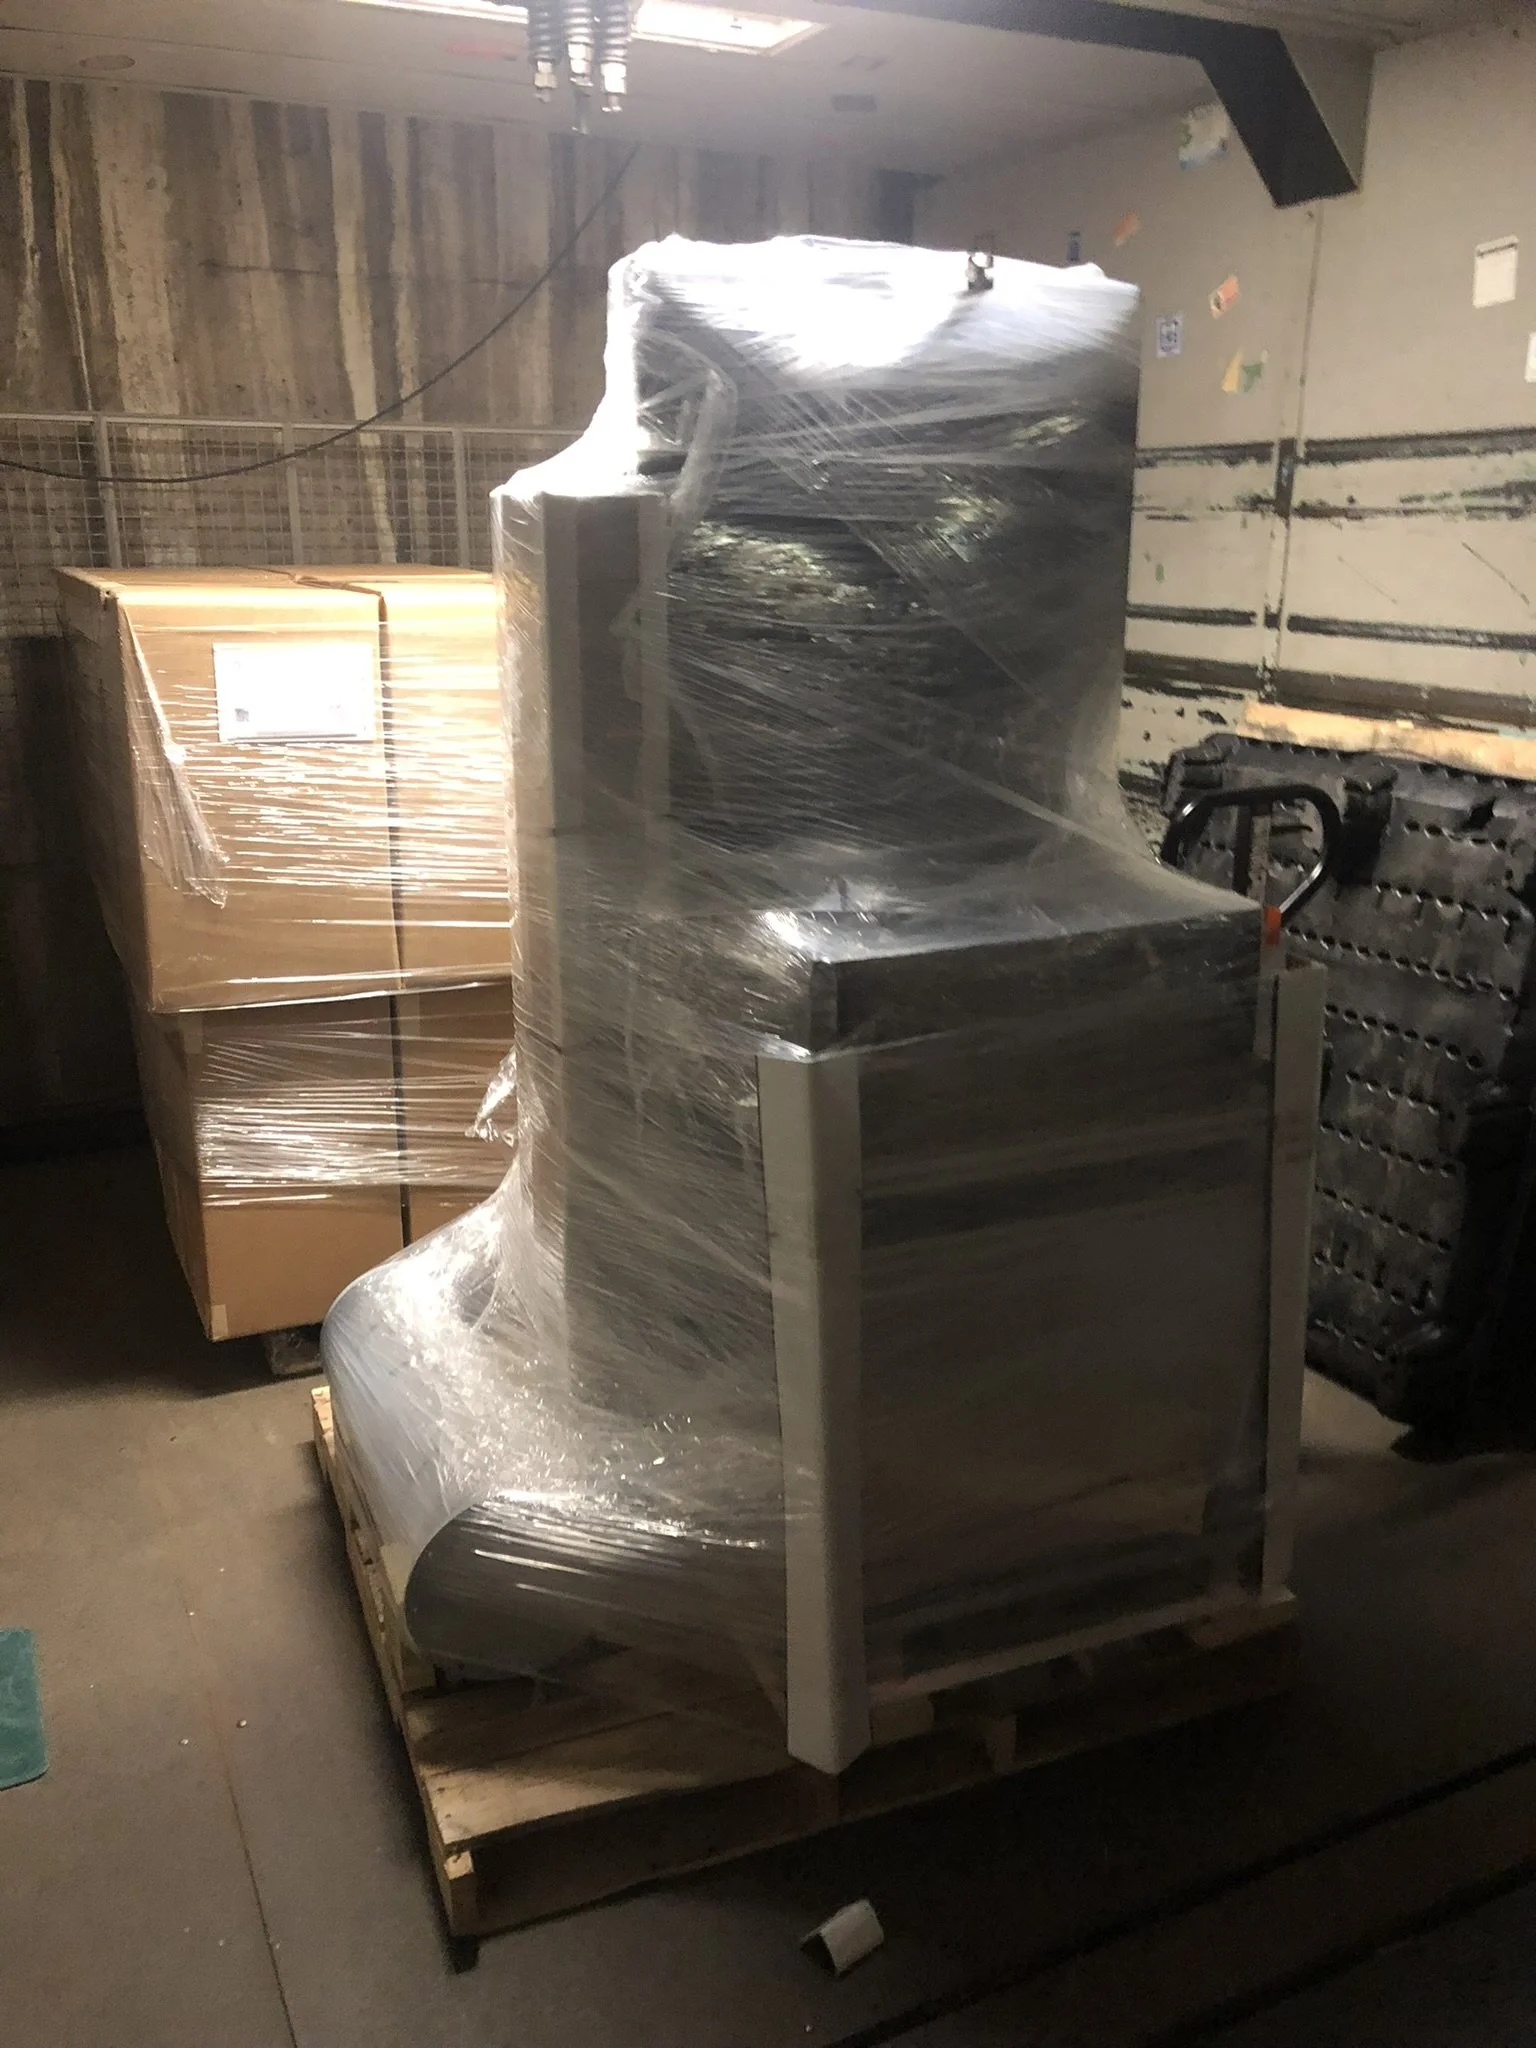
Workcell 1 Raw Materials
Workcell 1 Raw Materials
Workcell 1 Component Test Fit
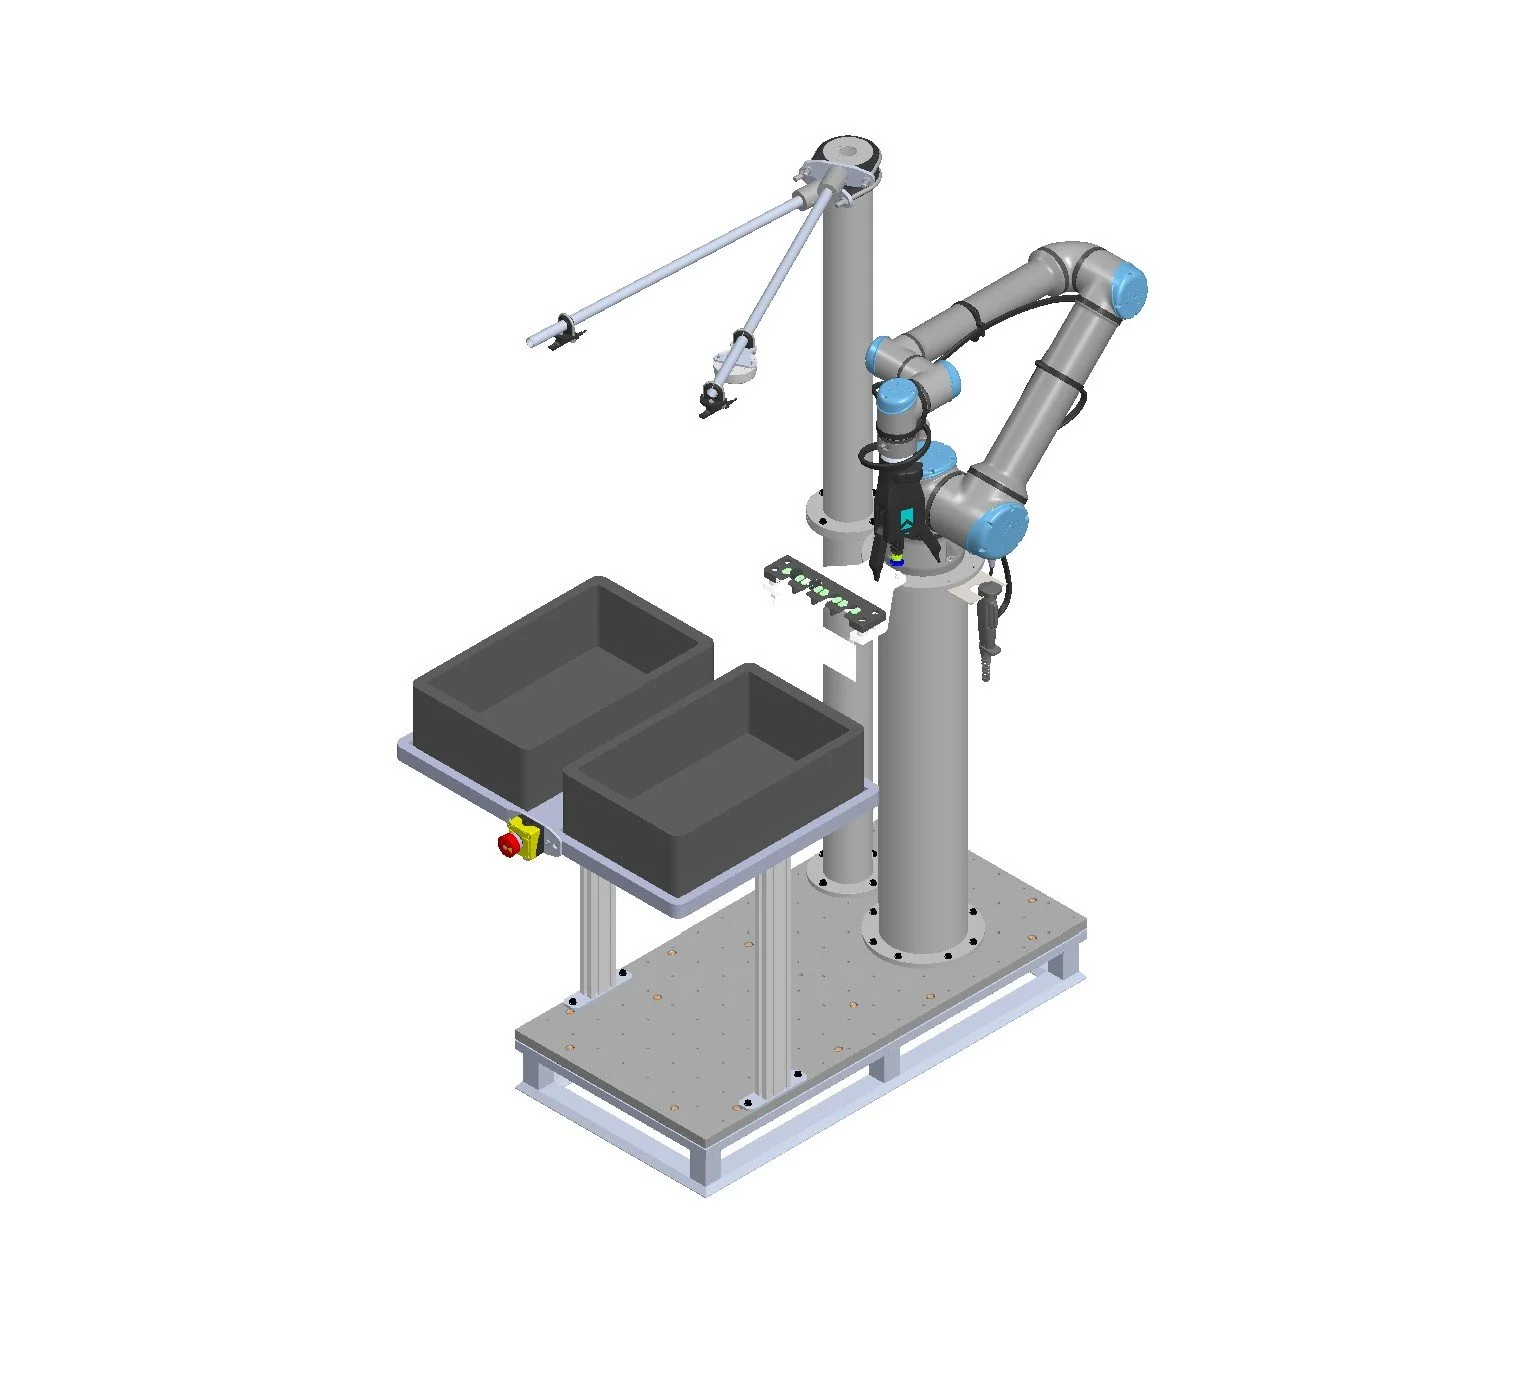
Workcell 2
This workcell was designed with the intention of representing an AutoStore Port that was already installed on-site for a customer. A simple design in the scheme of things, but using aluminum extrustion to our advantage led to a very easy on-site install, requiring only 4 screws to connect the left and right half of the assembly together. Time is precious for our deployment staff on-site, and being able to install the hardware completely in less than one hour allowed them to focus on software initialization rather than tinkering with Allen keys for three days
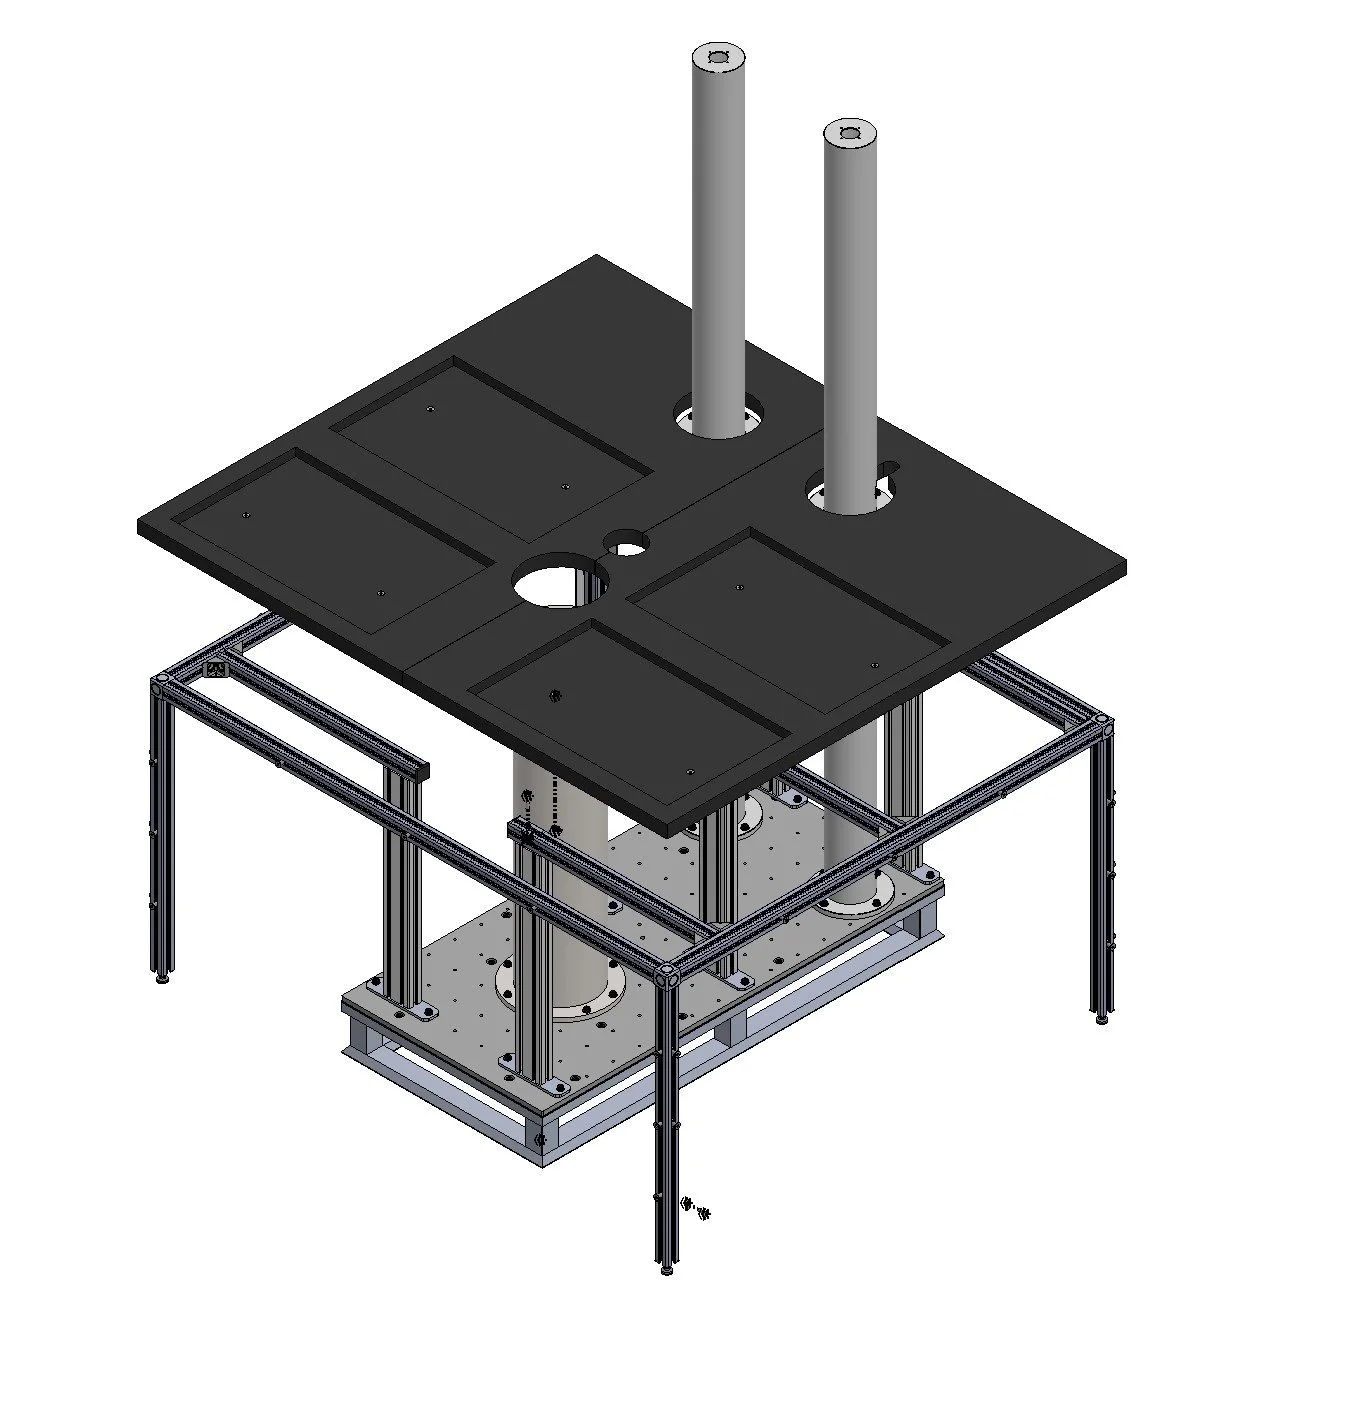
Workcell 2 Naked
Notice the two cross beams in the center, which were the only parts installed on-site. All other assembly was done in-house in Somerville, then palletized and shipped.
Workcell 2 CAD
The following pictures show an idea of a smaller assembly that’s relatively standard for a project
Workcell 2 Shipping CAD
Shipping was a critical part of our workflow, and we found it problematic to plan shipping after the project was designed. This project was the first project that was designed specifically to prioritize shipping as early as possible.
Workcell 2 Palletized
This is how I designed the packaging for Workcell 2. You can see the tall frame, ready to be installed on-site
Forklift Operation
A standard crate on the forklift. Most of our fragile electronic equipment is shipped this way. A big perk of my job is getting to do donuts in the parking lot after each shipment goes out.
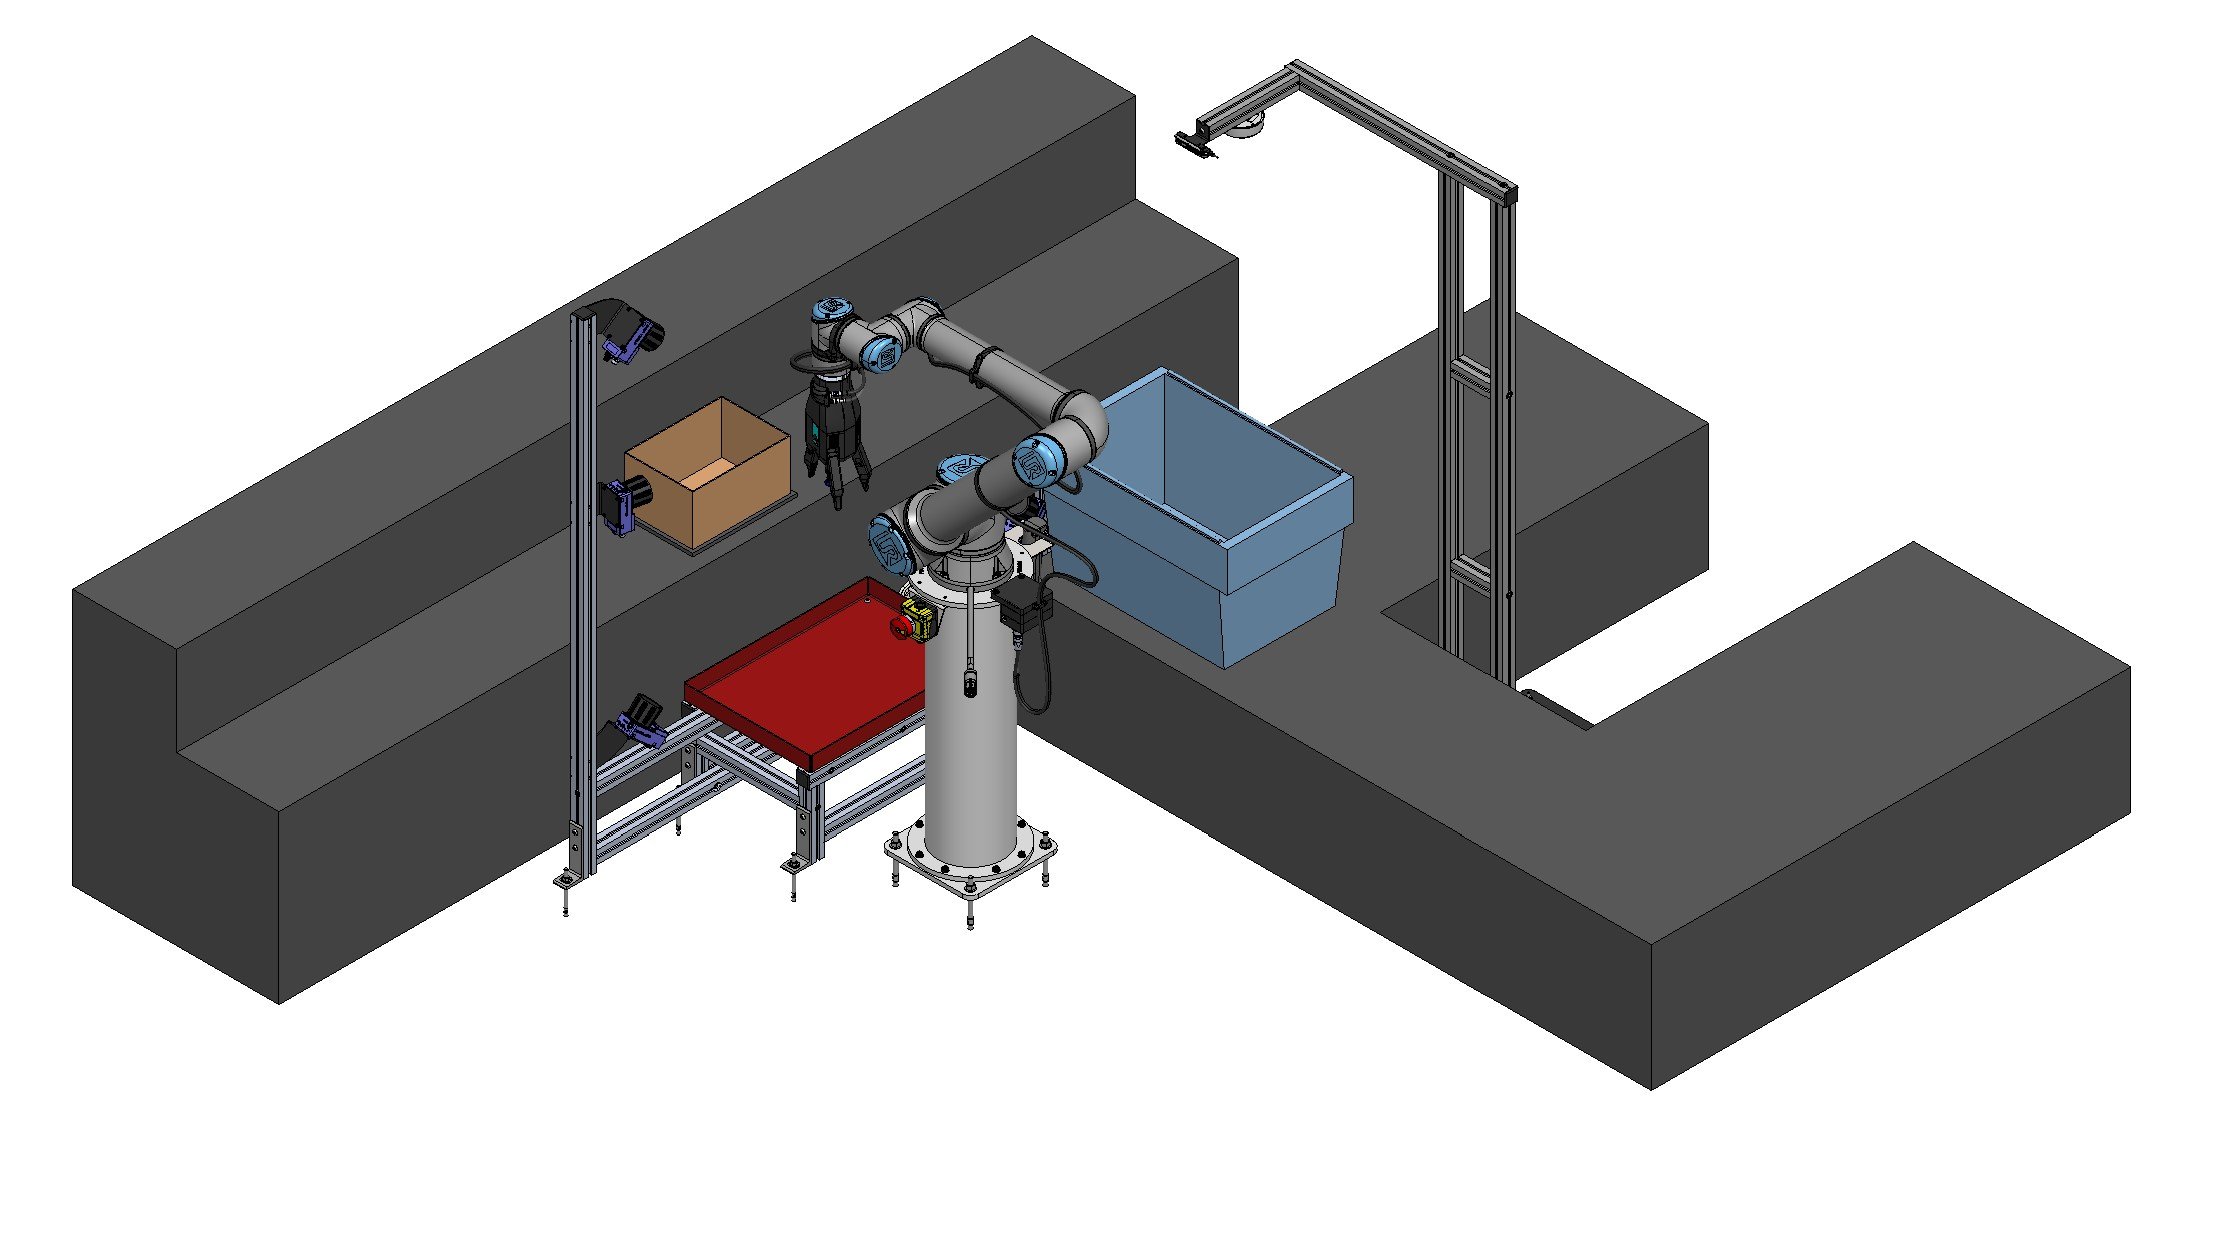
Workcell 3 Layout
This workcell was a simple workcell that integrated scanning to verify picks. The scanners are a massive pain to calibrate in the field, so I decided to integrate shipping design into our initial CAD work in SolidWorks. Designing highly custom brackets that allowed deployment engineers to install scanners and walk away was a massive time saver in the field. Before, adjustable brackets were our bane in the field, because they required precise alignment during setup, and constantly drifted away from center throughout months of picks.
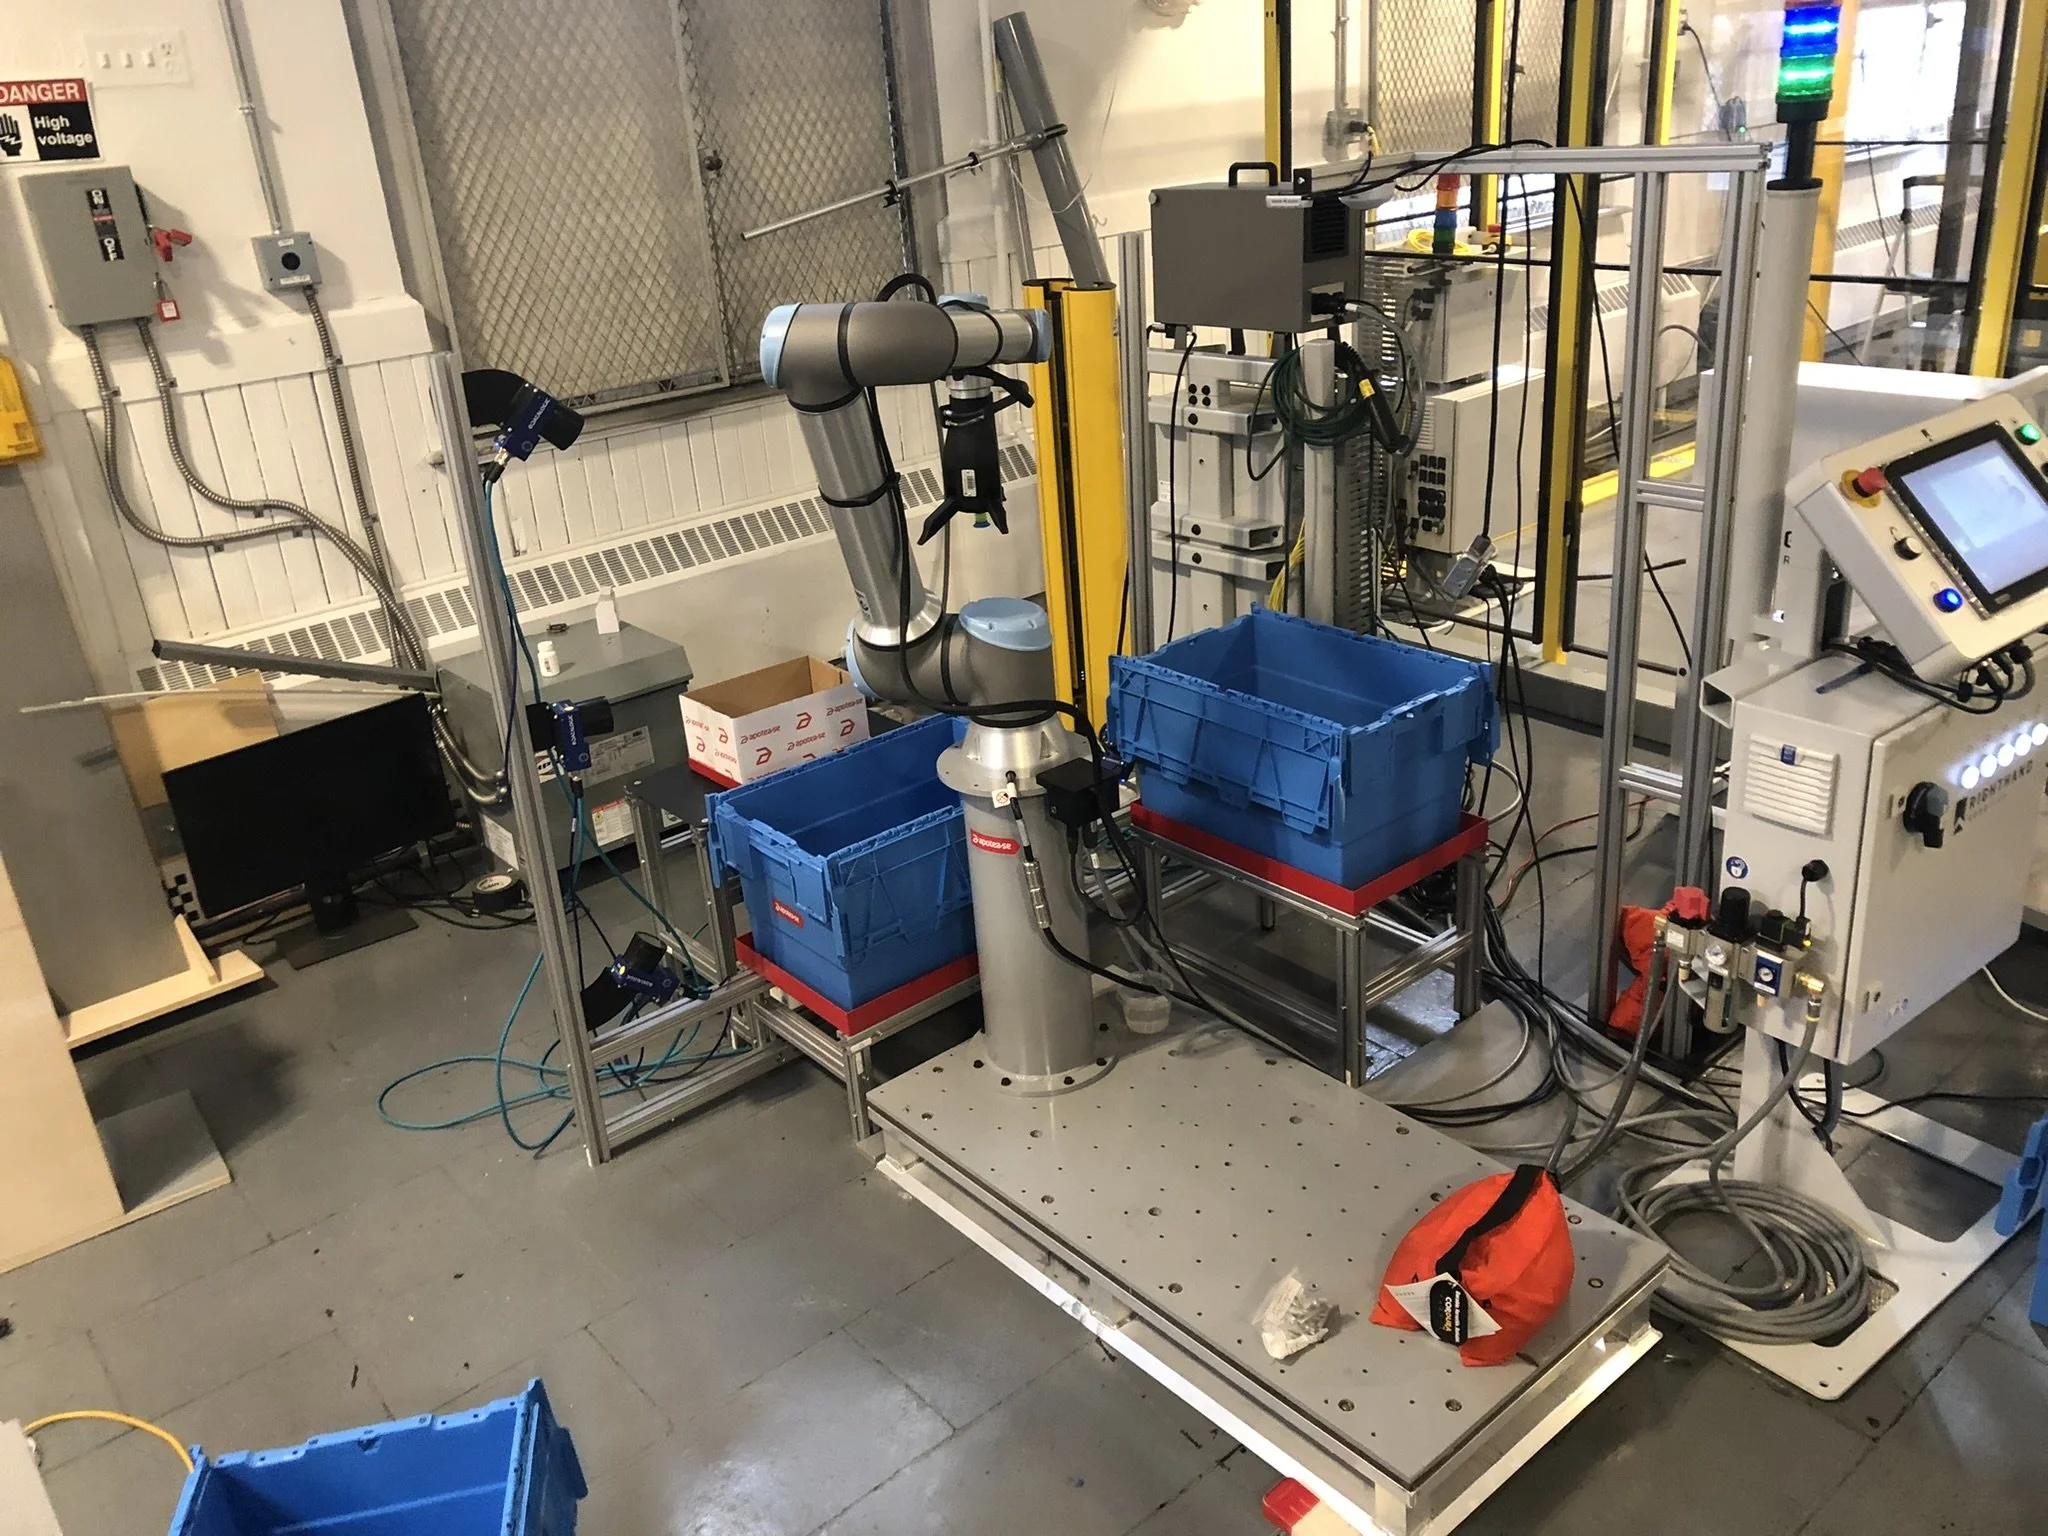
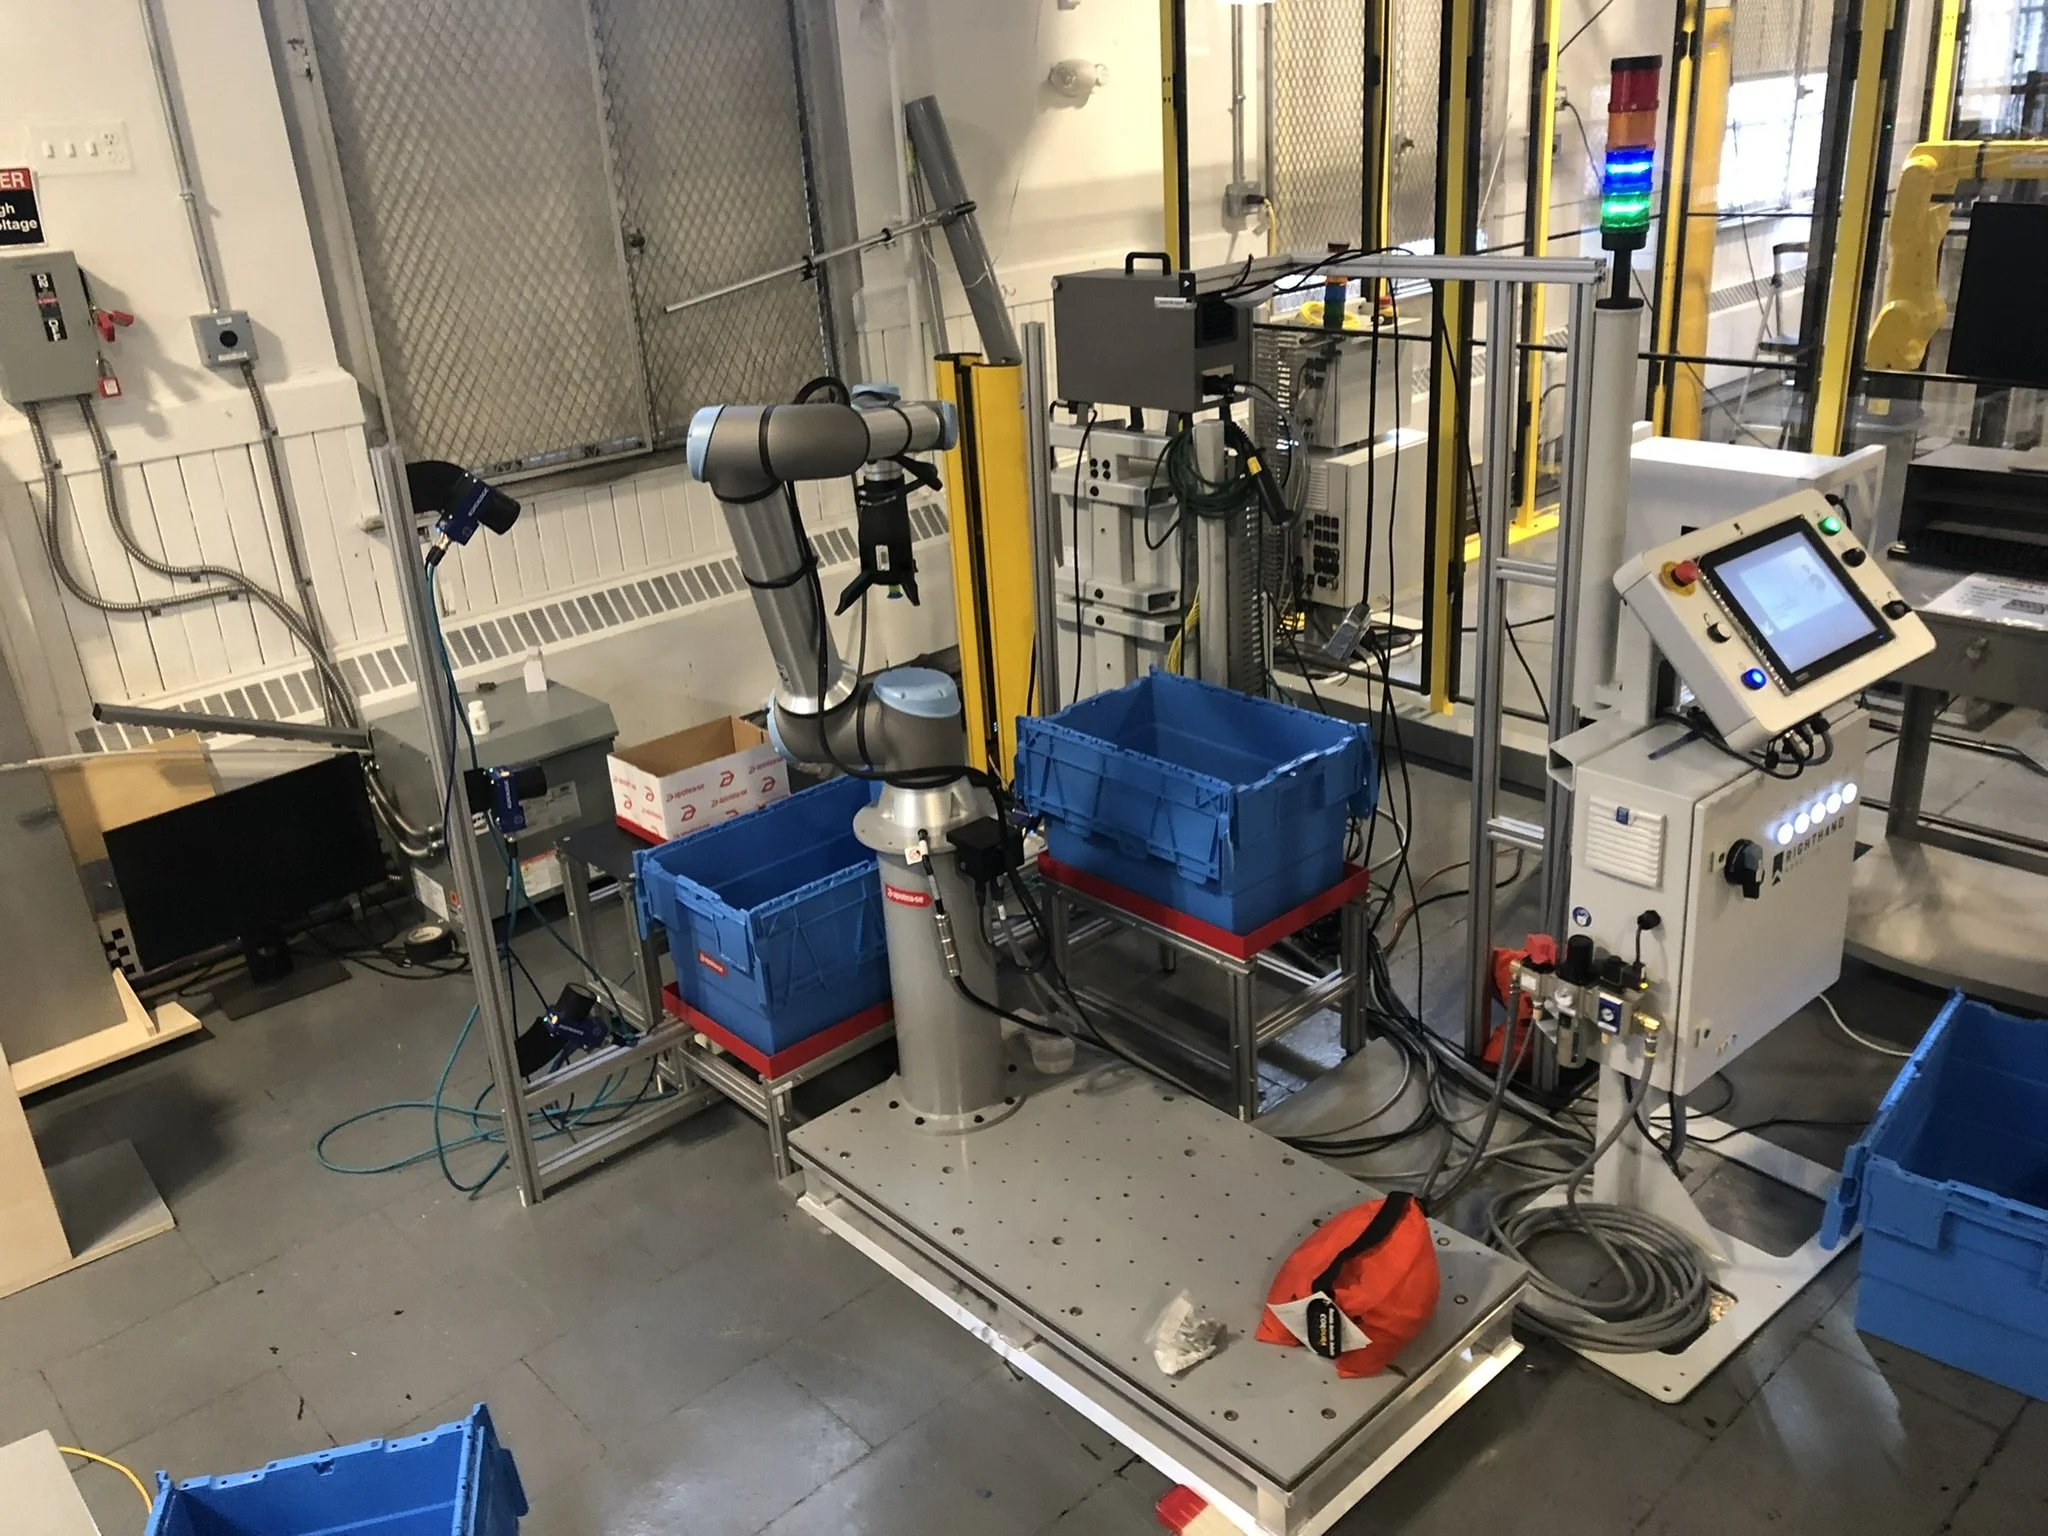
Industrial Arm Workcell
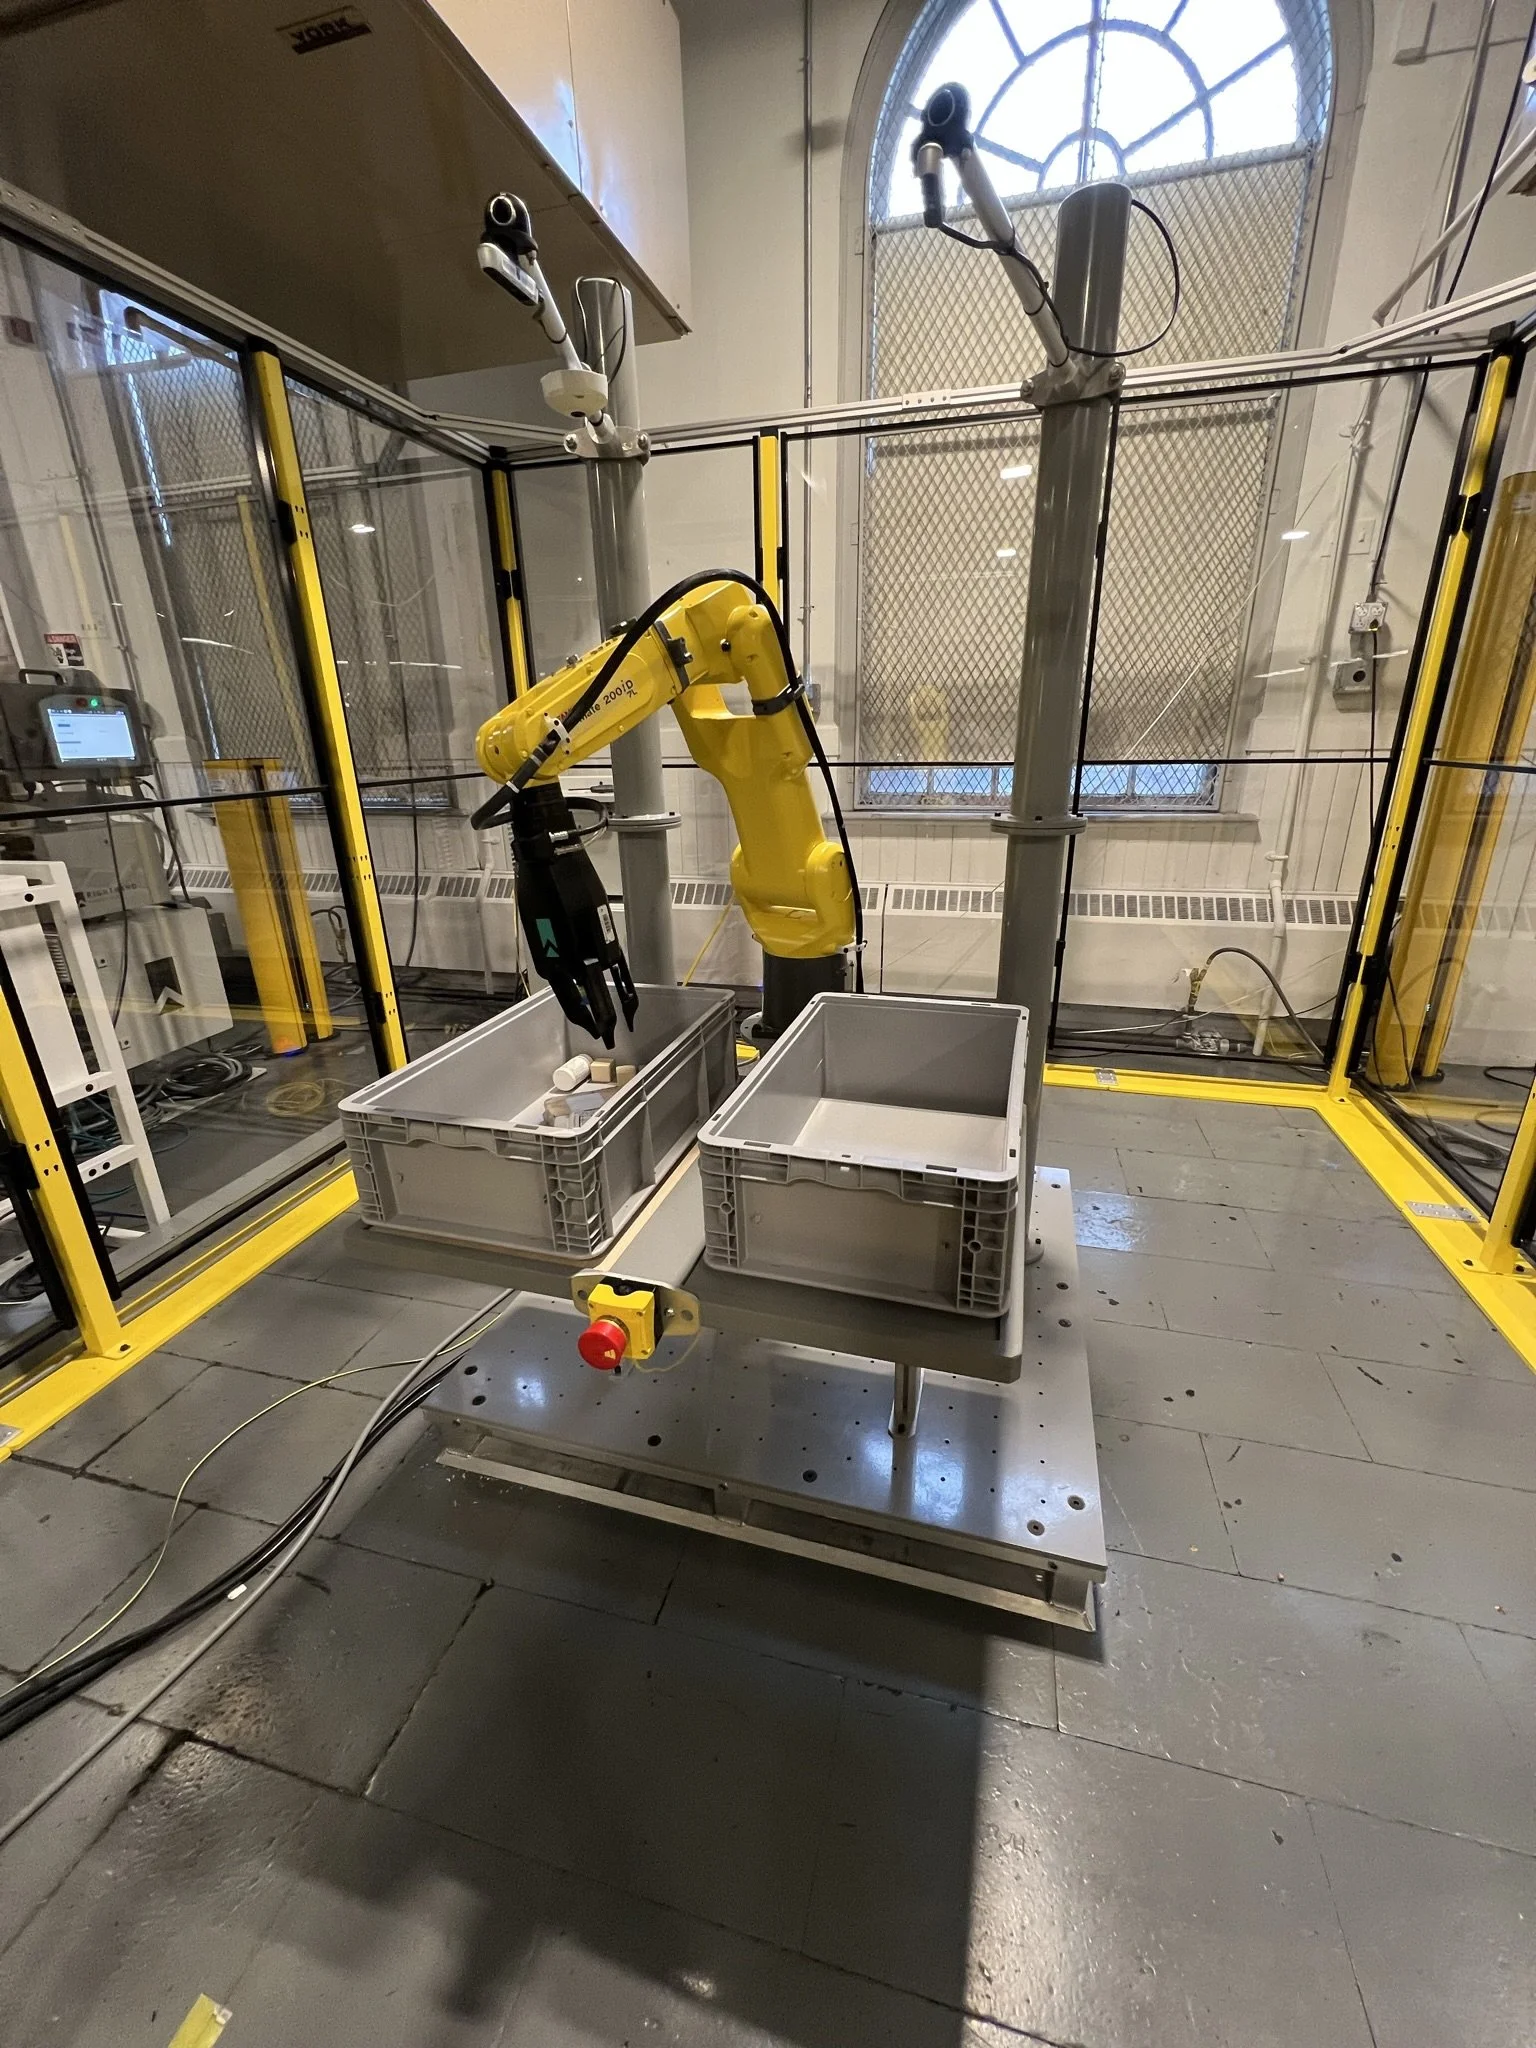
This workcell includes an industrial arm, which moves faster and has much higher inertia than our collaborative robots. While I did not do the initial design of this workcell, I was tasked with diagnosing and solving a problem unique to this workcell - the violent movement of the arm was causing the cameras to shake, and stills for calculating picks were too blurry to be used. The solution I came up with is included in the next slides.
Industrial Arm Camera Trellis
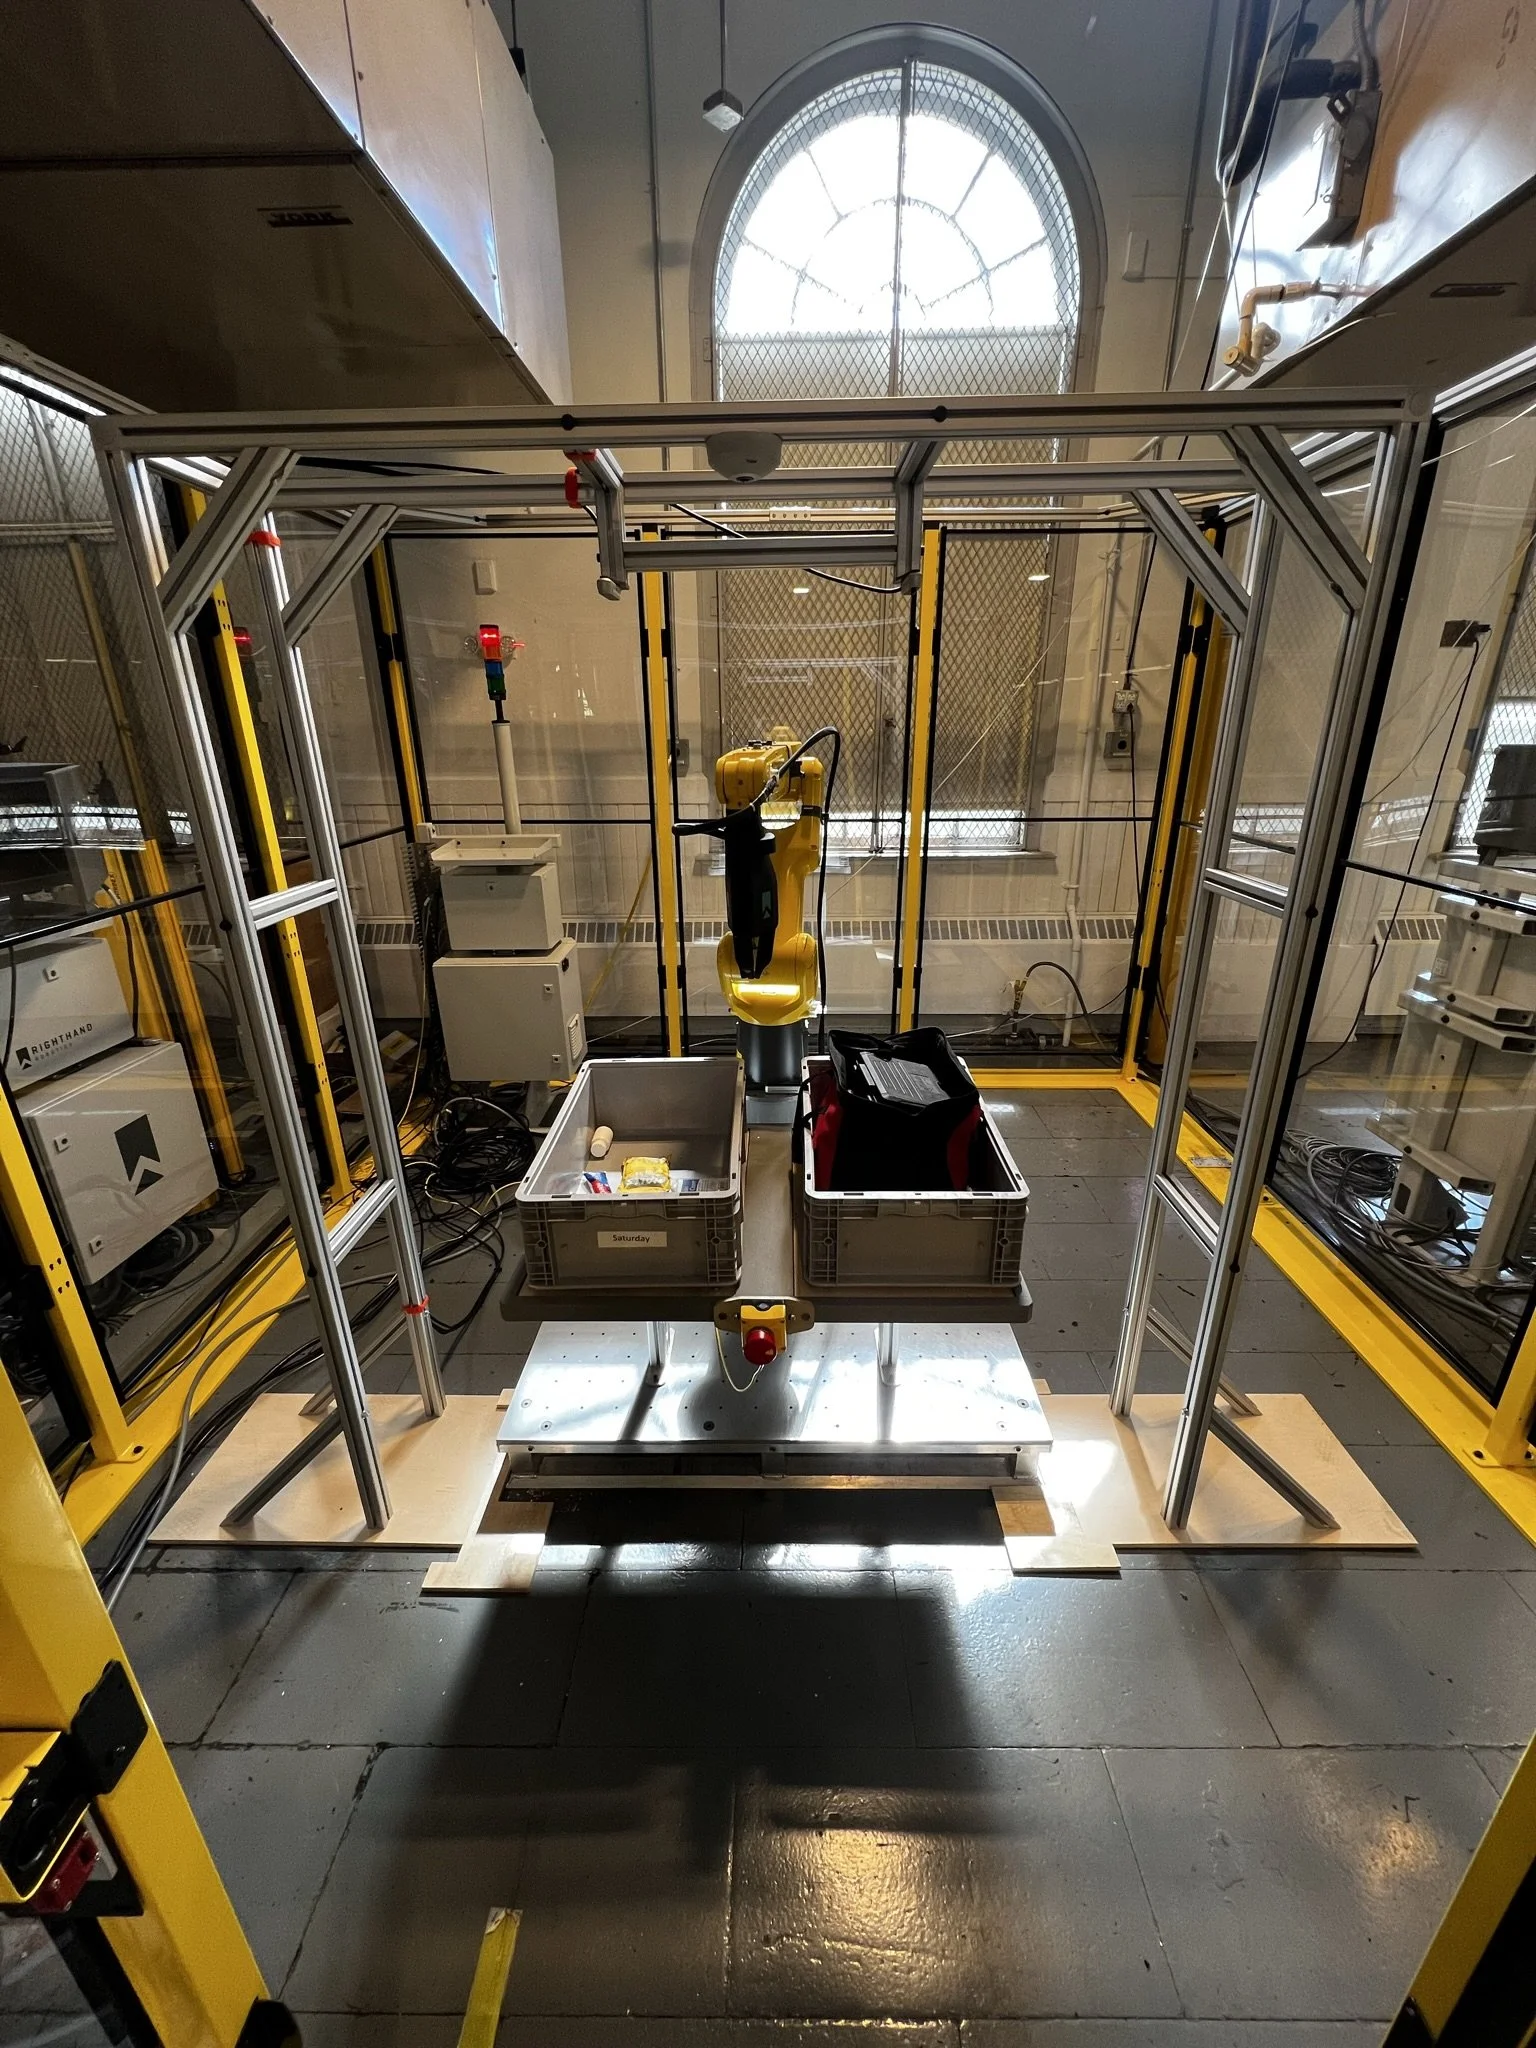
Due to the hard connection between the cameras and the baseplate, I thought it best to separate the camera mounting system from the baseplate entirely. This photo shows a test fit, using plywood baseplates that we are able to make and test in house while we wait ages for steel baseplates to arrive. This decoupling allowed the cameras to remain completely still during arm movement.
Industrial Arm Camera Trellis Install
Because we are not allowed to drill into the floor in our current office, I included simple jigs that anyone can use to check alignment of the cameras. Although the cameras are no longer connected to the robot, they still need to be consistently placed in order to get properly referenced stills.
ABBA Workcells
The following slides are multiple variations of the same workcell - “The ABBA Cell” whose sole intention was to pick and place from bin A to bin B, and then reverse to bin B back to bin A. They were hugely critical in testing new pick items, new code, and most importantly wowing potential investors and customers. The cells were designed to look good, be broken down easily, and highlight various important parts of our system.
Small Tradeshow ABBA
Large Tradeshow ABBA
Suction Cup Swapper Cell
This cell was designed to work like an ABBA, but have two separate item sets so that the new Suction Cup Swapper could be highlighted at trade shows.
Suction Cup Swapper Cell
Suction Cup Swapper Cell (Exploded)